No items in cart
Buy 2 Get 1 Free
Add 3 products to the cart and get the cheapest for free at checkout.
Add 3 products to the cart and get the cheapest for free at checkout.


Parallel processing is a key technique in pro mixing workflows.
It gives engineers the flexibility to dial in the perfect blend of transparency and style when working with effects.
And while you may have heard of parallel compression, there are many more parallel techniques out there to consider.
If you’re new to mixing in parallel, it might not always be clear why you would choose to use this method.
In this article, I’ll break down the basics of parallel processing, explain the most common uses and suggest some ways to get creative with parallel chains.
Parallel processing is any mixing technique in which a processed or effected signal is blended together with the dry original.
It’s done to create a balance between the desirable qualities of each signal and reduce any negative effects from heavy processing.
Parallel routing is the standard method for working with ambience effects such as delay and reverb.
These are usually set up on aux return channels so that blending in the effect does not alter the level of the dry signal.
Beyond that, there are creative applications for parallel chains that are well-known to help engineers achieve a better mix.
The method for routing parallel chains varies from DAW to DAW.
The most straightforward way is to simply duplicate the source audio on a new track.
With the track duplicated, you can add the effect, set it to 100% wet and blend between the two with the channel faders.
While this works just fine, it’s not always the most efficient or easiest to manage in a large session.
However, it’s often used in DAWs like Ableton Live that have a limited number of aux return channels.
Additionally, Ableton Live’s plugin suite features a device called Racks that lets you create unlimited parallel chains from within the insert path.
The more conventional method mirrors the workflow used in an analog console. In this setup, you create a new aux return track, insert an effect and blend between the two with the faders.
Finally, some plugins take care of the parallel routing within their architecture.
For effects designed from the ground up to run in parallel, this option is usually the best to ensure the blending function works as intended.
Most producers are familiar with the basic idea of parallel compression.
Sometimes called “New York-style” or “New York compression,” our IHNY-2 plugin’s name is a nod to the origin of the technique.
It works by blending compressed signal with dry so that punchy transients from the original audio retain their snap, even with heavy compression.
If your goal is to create this characteristic feel, you may need to change your approach to compressor settings to get what you are looking for.
IHNY-2 is purpose-built to deliver the aggressive compression that works so effectively in parallel.
Instead of fussing over threshold and makeup gain, IHNY-2 uses an auto-gain function so that the essential compression characteristics are easy to dial in.
Of course, you can set traditional compression parameters directly with the tweak panel, but many producers find IHNY-2’s basic setting works well right out of the box.
With the fundamentals out of the way, here are four parallel techniques to try for a better mix.
Saturation is a secret weapon for many mix engineers.
Whether it’s the gentle clipping of a driven mic pre, or the vintage magic of tape saturation, the technique is used more often than you might think.
But heavy saturation can sometimes cause issues down the line.
Since it results in tonal shifts as well as enhanced harmonics, saturation may diminish some aspects of the sound that you need in the mix.
For example, many mixers use saturation to add energy to flat, bassy sounds like 808 kicks.
This helps them stand out in the mix, but naturally reduces their booming low end.
The solution is to blend dry signal back with the saturation effect to strike a balance between midrange enhancement and sub-bass thump.
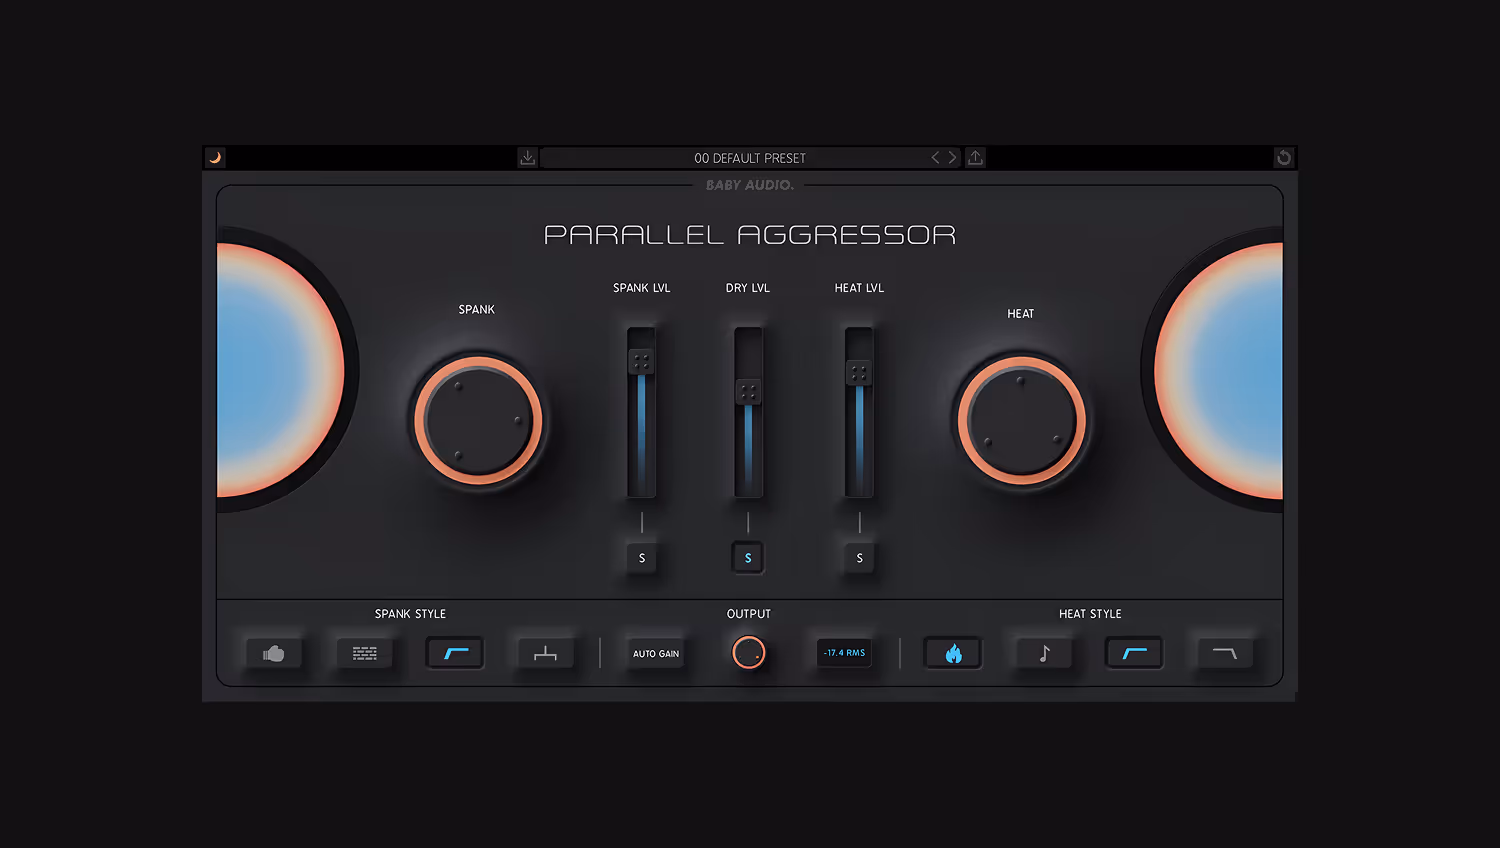
Our Parallel Aggressor plugin is designed to help you manage parallel and compression and parallel saturation at the same time.
Since saturation can affect the behavior of dynamics processing when used in series, Parallel Aggressor uses three separate signal paths—compression, saturation and dry.
With straightforward settings that put the essential controls at your fingertips, Parallel Aggressor lets you dial in a complex signal chain with ease.
Most modulation effects are based on the concept of blending dry signal with a modulated copy.
But some styles such as warped-vinyl vibrato are usually used 100% wet.
Even so, you can blend in the dry by using them on an aux return, even if the plugin doesn’t offer a mix control.
This can create a unique chorus effect that has the pitch warble of a lo-fi effect or the wow and flutter of tape.
Super VHS has a built-in mix control to let you create subtle or extreme 80s-style chorusing with the flavor of VHS audio.
Parallel processing is one of the most creative techniques for sound design.
With multiple chains of series effects in parallel, you can take any sound into new territory.
A classic example is gated reverb. In this technique, a gate clamps down on the trailing wet signal of a reverb plugin before it can decay naturally.
The result is a punchy and active sound that adds the tonal character of reverb reflections without muddying up the sound.
Some sources in your mix require a delicate balance of style and clarity.
In these cases, it may be tempting to use a colorful effect like a lo-fi plugin to introduce character.
But it’s easy to go overboard with special effects when it comes to foundational instruments like vocals.
It’s important to leave enough dry vocal in the parallel blend to keep the vocal sounding powerful and upfront in the mix.
If you find adding texture with lo-fi helps make your sounds stick out, consider blending them in parallel to retain clarity.
Parallel processing is an essential technique to understand and use in your mix.
The tips I’ve suggested here are just the start when it comes to creative routing in your DAW.
Now that you have some inspiration, get back to your mix and experiment with parallel chains.


.avif)