No items in cart
Buy 2 Get 1 Free
Add 3 products to the cart and get the cheapest for free at checkout.
Add 3 products to the cart and get the cheapest for free at checkout.

.png)
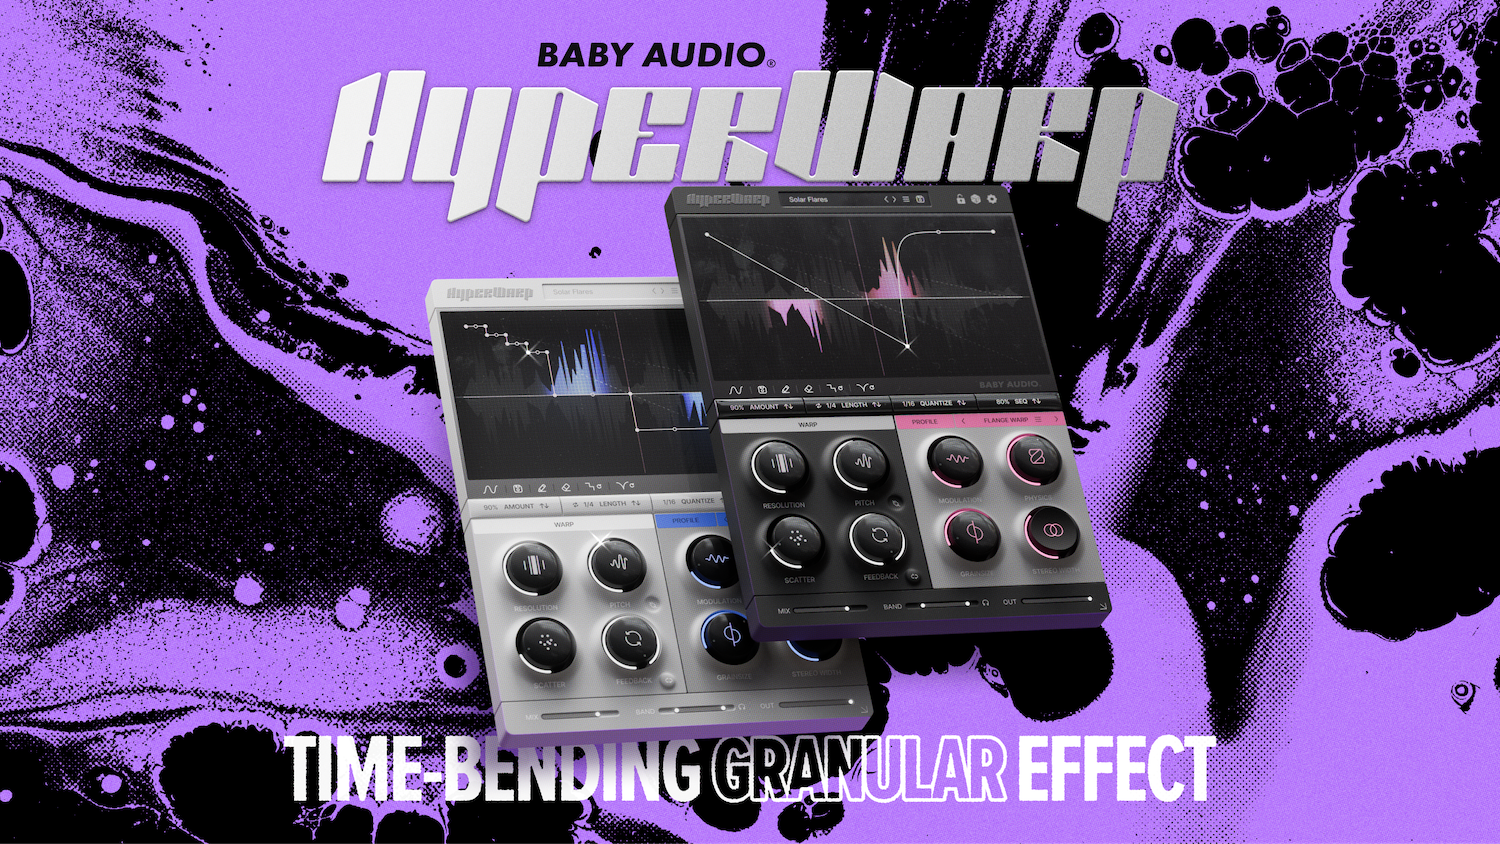
HyperWarp is a time-twisting multi-effect, powered by Baby Audio's advanced granular engine. Its graph interface lets you build rhythmic sequences while the seven effect profiles add new worlds of hypermodern textures.
From classic glitch edits to transformative granular modulation, HyperWarp alters time with style.
To get started with HyperWarp, load it as an insert effect on any track in your session.
HyperWarp works on any audio material or plugin output, but it can be easier to understand its effect on looped sections like beats or melodic patterns.
To get a feel for its basic effect, try some of the preset graph patterns from the menu in the bottom left corner of the graph input panel:
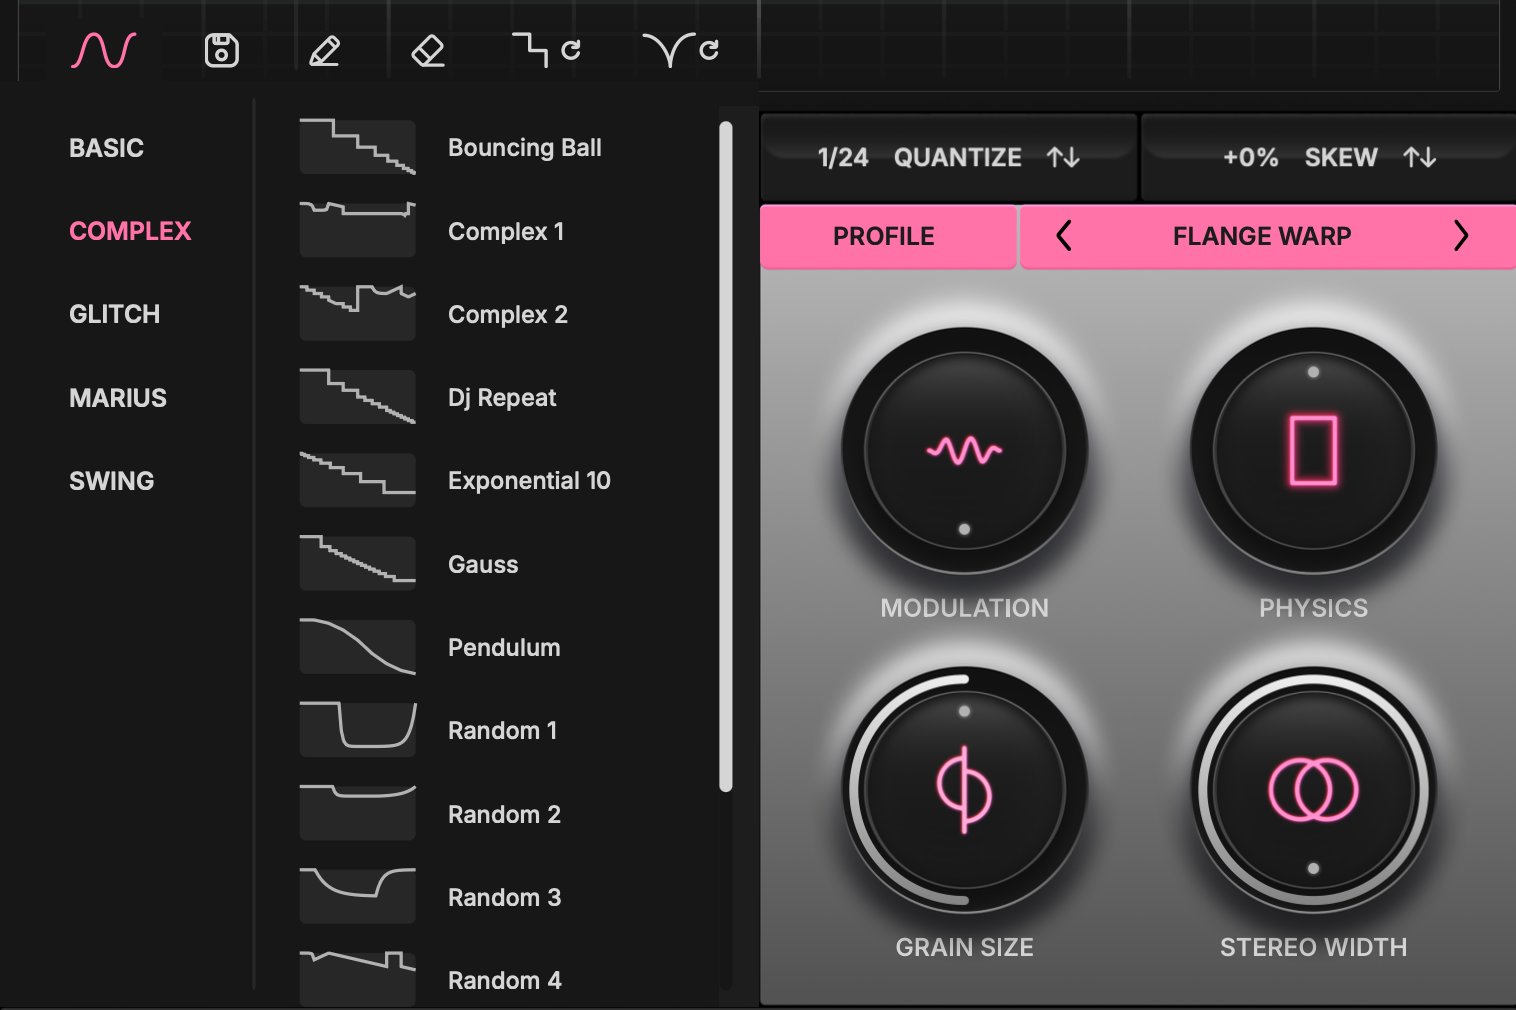
For the cleanest tonal chopping effects, use the Clean Warp profile and keep the Resolution control at maximum. With Scatter turned off and Pitch at the 12 o’clock neutral position, you’ll hear HyperWarp’s clean time manipulation follow the sequence set by the graph panel. For traditional warp effects where pitch and time are linked, use the Flange Warp profile with the Physics control fully clockwise.
As noted in the graph input section below, stairsteps represent jumps backward in time, sloping lines accelerate or decelerate time and curves create slides.
Try experimenting with different graph patterns to get a sense for how the warp sequencing works.
Each of HyperWarp’s 7 profiles create unique effects that manipulate the stored material as it progresses through the graph sequence.
Try cycling through HyperWarp’s seven profiles without changing the graph sequence to explore each one’s sonic possibilities. The four parameters in the bottom right quadrant of the interface offer different macro controls for the underlying engine, depending on the chosen profile.
To explore more granular possibilities, try manipulating the parameters in the bottom left quadrant as you go to discover how they interact with the other controls inside HyperWarp.
HyperWarp was built to make creating glitchy stuttering re-edits easy and creatively satisfying.
Use the graph input to draw any combination of time warps, playback speed changes, reverse sections and more.
When combined with HyperWarp’s granular processing and unique profile macro controls, you can quickly create unpredictable glitching rhythmic variations from any existing audio.
Curved lines on HyperWarp’s graph create a change in playback speed over time, similar to scratching a vinyl record or abruptly stopping the playback of a tape machine.
Unlike these analog processes, HyperWarp’s granular time engine can keep the source material’s pitch intact, regardless of changes in the rate of playback.
That means you can create unique time stretching effects that blur the line between old school scratching and modern granular processing.
The 45 degree dotted line on HyperWarp’s graph input panel denotes the ‘stopped’ position where the playback rate is 0% of the clip’s regular speed.
When time is stopped, HyperWarp’s processing window contains only the material loaded into it at the far left position of each repetition of the graph sequence.
This lets you create transformative single grain effects that turn tiny microsamples into unique, oscillator-like tones or repeating, delay-like effects.
HyperWarp’s diverse profiles give you access to powerful granular effects under the hood with just four simple front panel controls.
Inspired by Grainferno’s granular synthesis engine, HyperWarp’s more experimental profiles cover a lot of ground. You’ll find unique approaches to flanging, filter, lo-fi effects and more—all while preserving the sequence of rhythmic warping you’ve entered in the graph panel.
If you’re looking to add more than just pure time manipulation to your glitch sequences, HyperWarp’s profiles are not to be missed.

The top menu gives you the following options:
HyperWarp's randomization functions are tuned to deliver useable, musical results on every click. The top menu Dice icon will randomize all parameters that are not excluded from randomization from within the random Lock menu.
Click the Lock icon to toggle the random lock overlay and display the parameters that can be excluded from randomization. By default, the Amount control and Profile selection are excluded for more predictable results. Note that the graph panel can be excluded from randomization to preserve the time warp sequence.
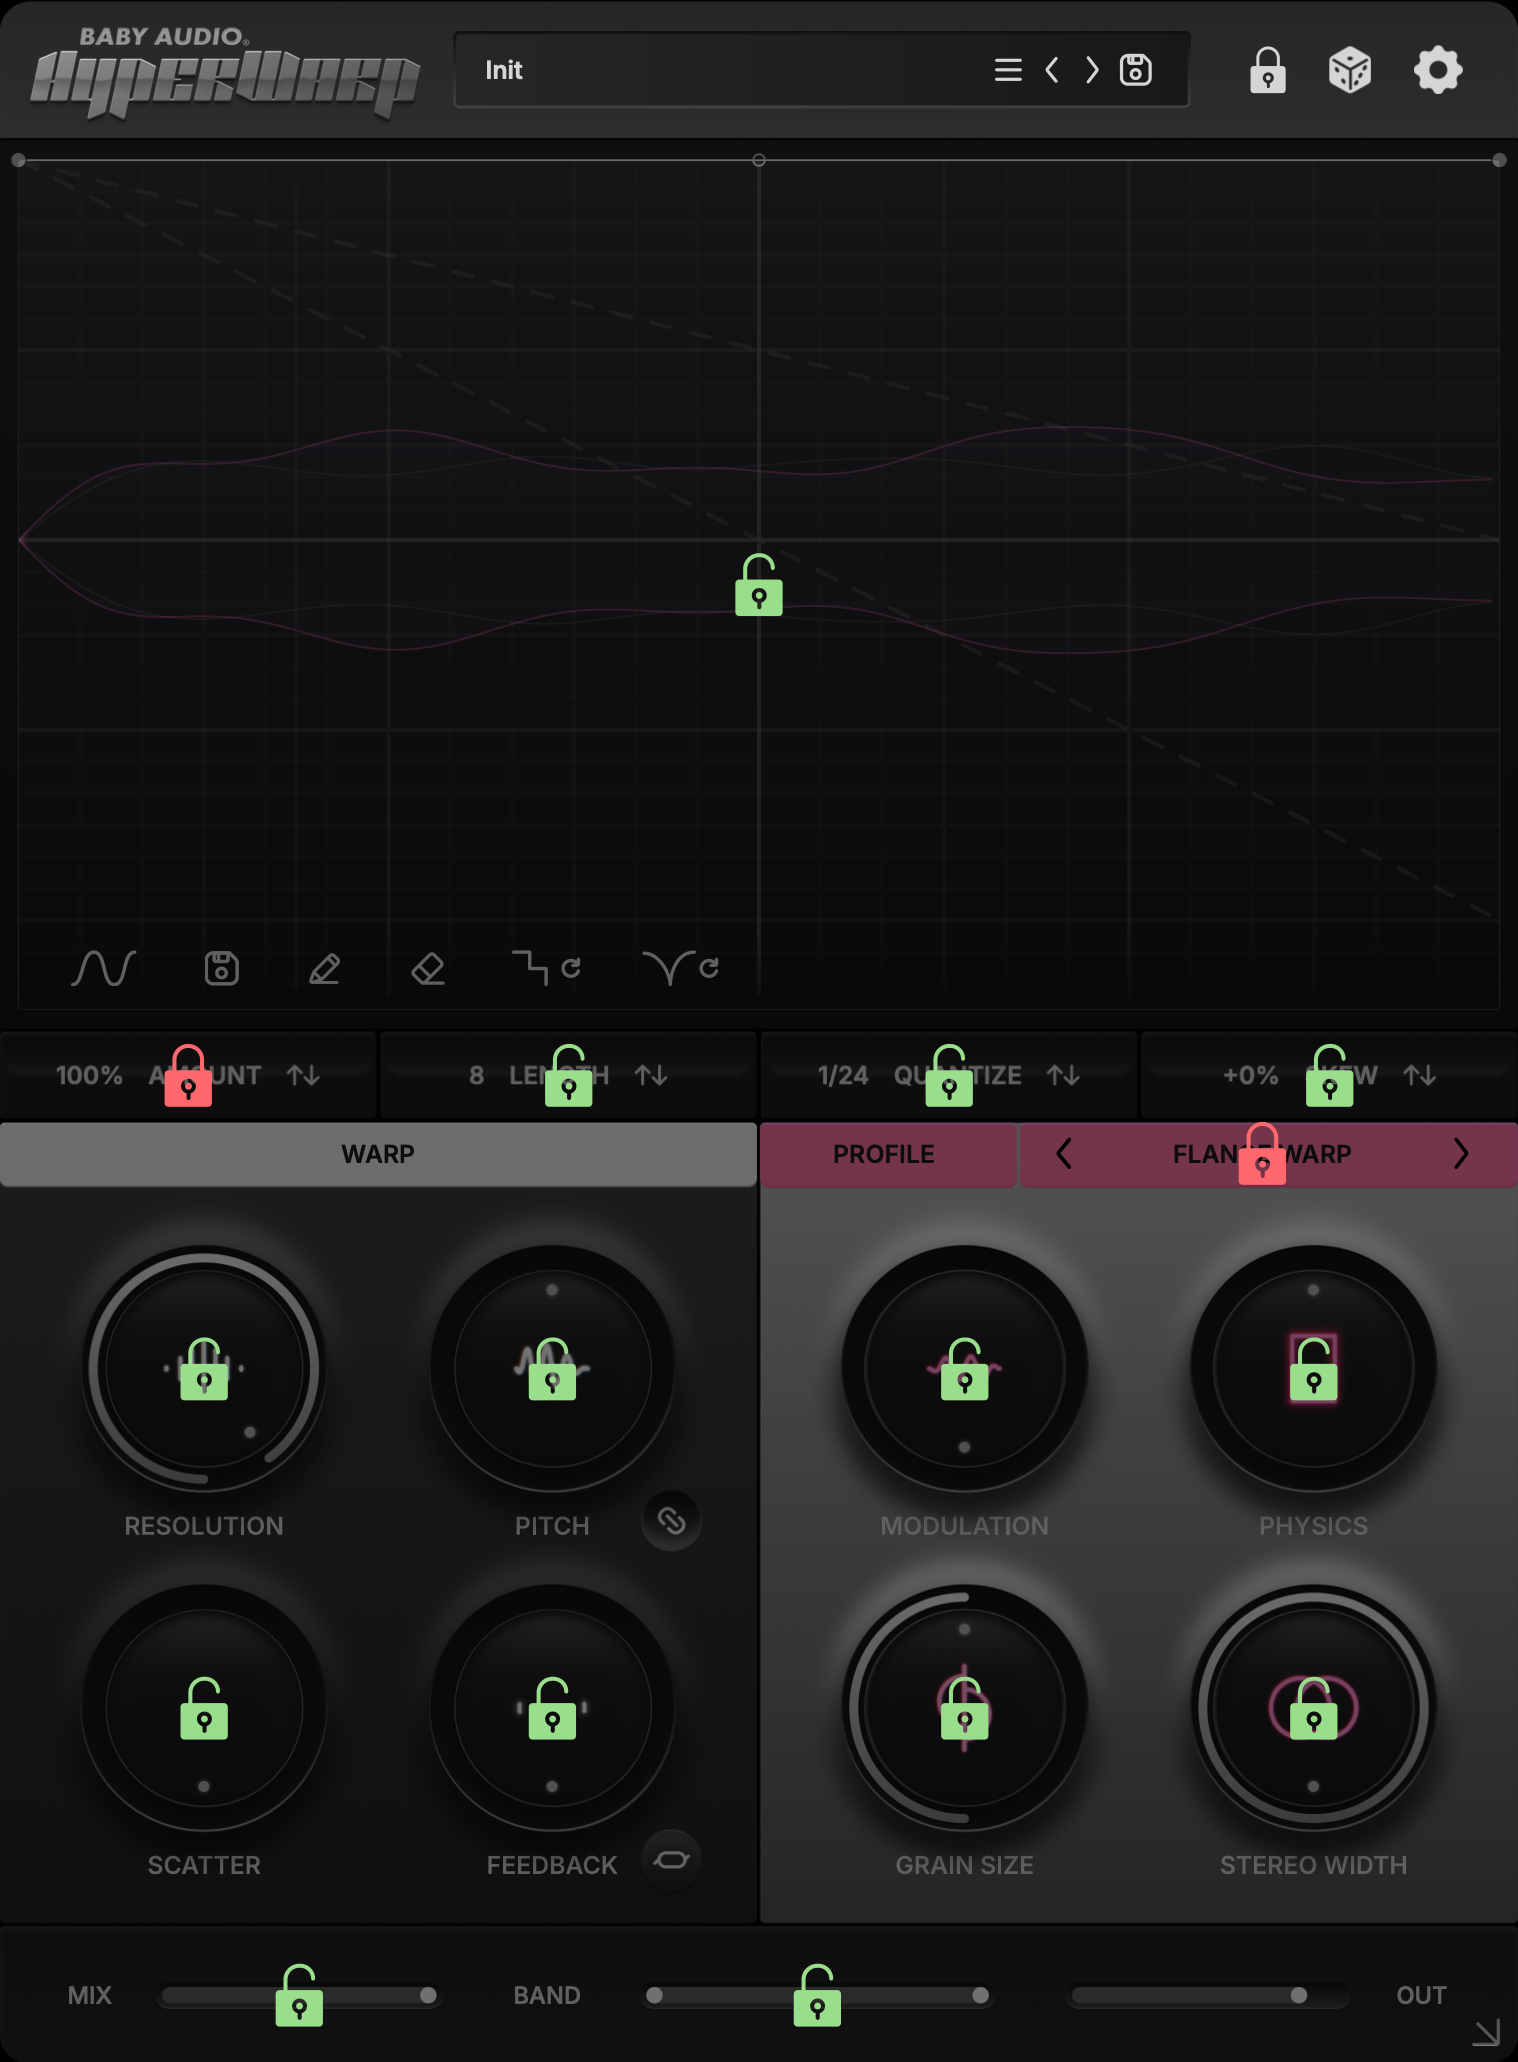
For more randomization capabilities, the graph input panel offers Random (steps) and Random (curves) functions on its bottom menu bar.
HyperWarp uses an X/Y graph input system to sequence its granular time manipulation effects.
The X-axis represents the duration of the window being processed, set in beats using the Length parameter.
The Y-axis represents the amount of time warped backwards from the playhead position.
For a simple example, this setting will play forwards in normal succession for one bar then warp one bar back in time when the playhead reaches the first breakpoint.
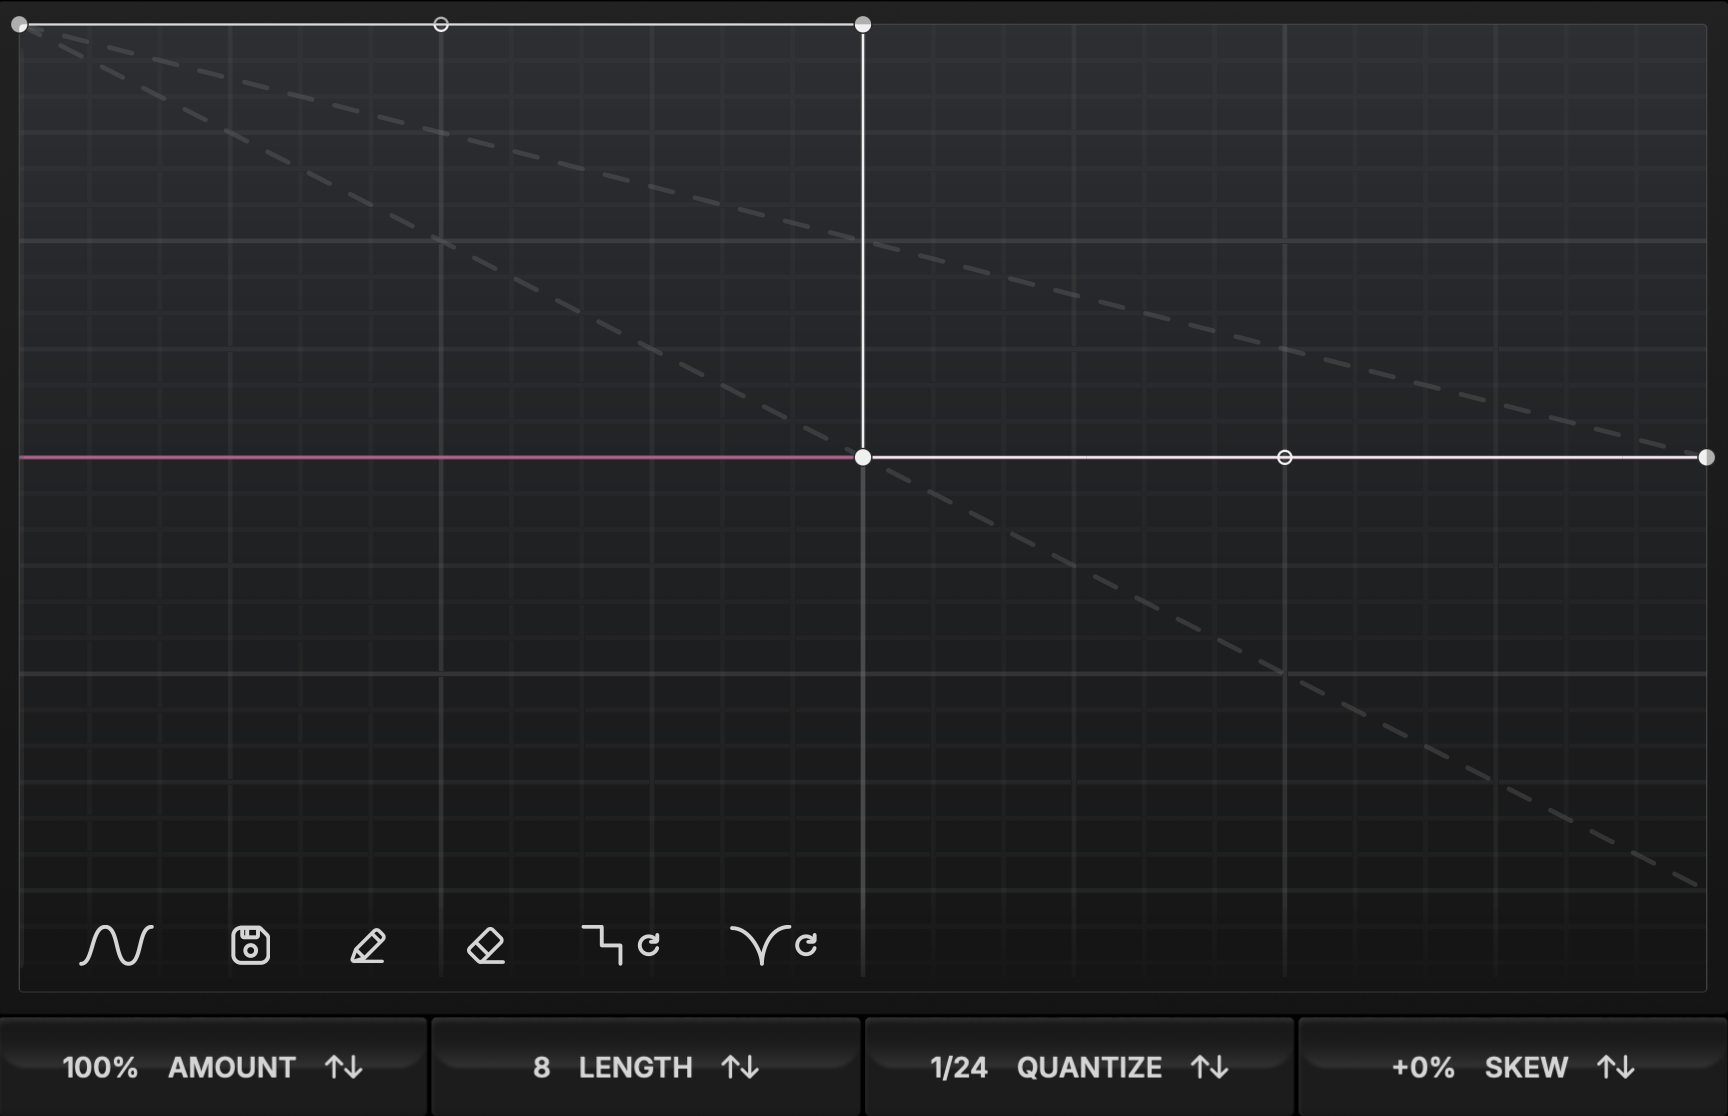
Note that because HyperWarp’s granular engine needs to load material into its processing window, it can only warp backwards in time and not forward.
Horizontal lines on the graph indicate playback at regular speed, so in the above example, the processed material plays back normally, even after being warped backwards.
This is useful when creating stutter effects, since reverse-warped stutters will appear as stairsteps on the graph.
The Glitch2 graph preset creates a typical rhythmic glitch effect using a mix of short and long warps backward in time:
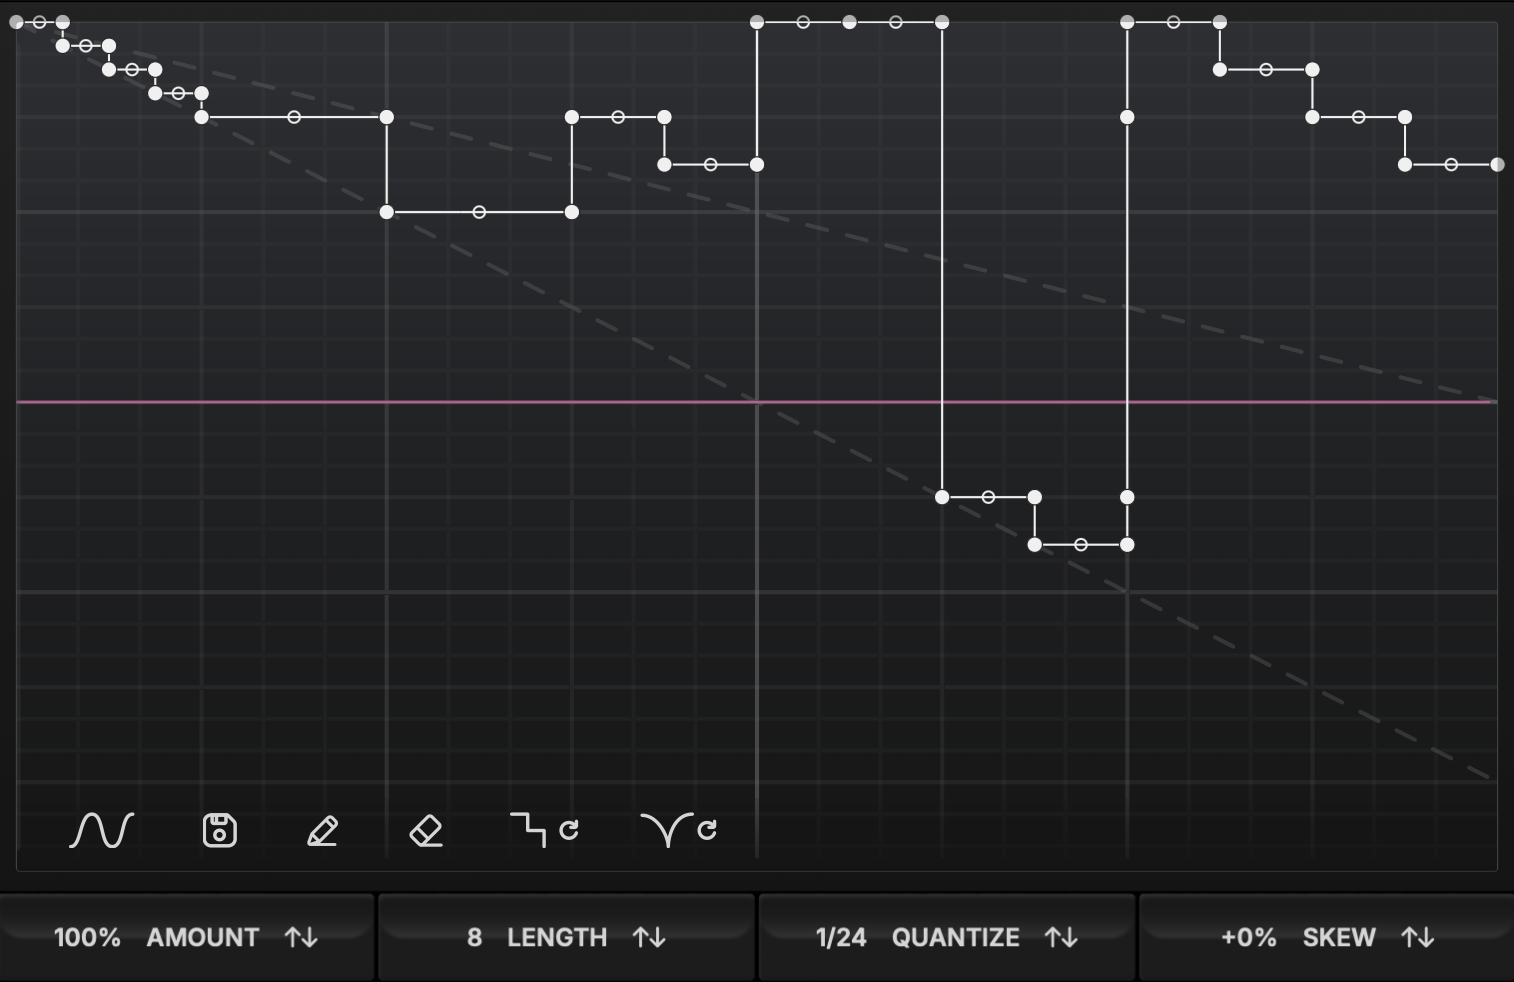
But much more is possible by changing the slope of the line connecting two breakpoints. For example, when the slope is equal to that of the first dotted line in the upper half of the interface, the processed material will play back at half speed.
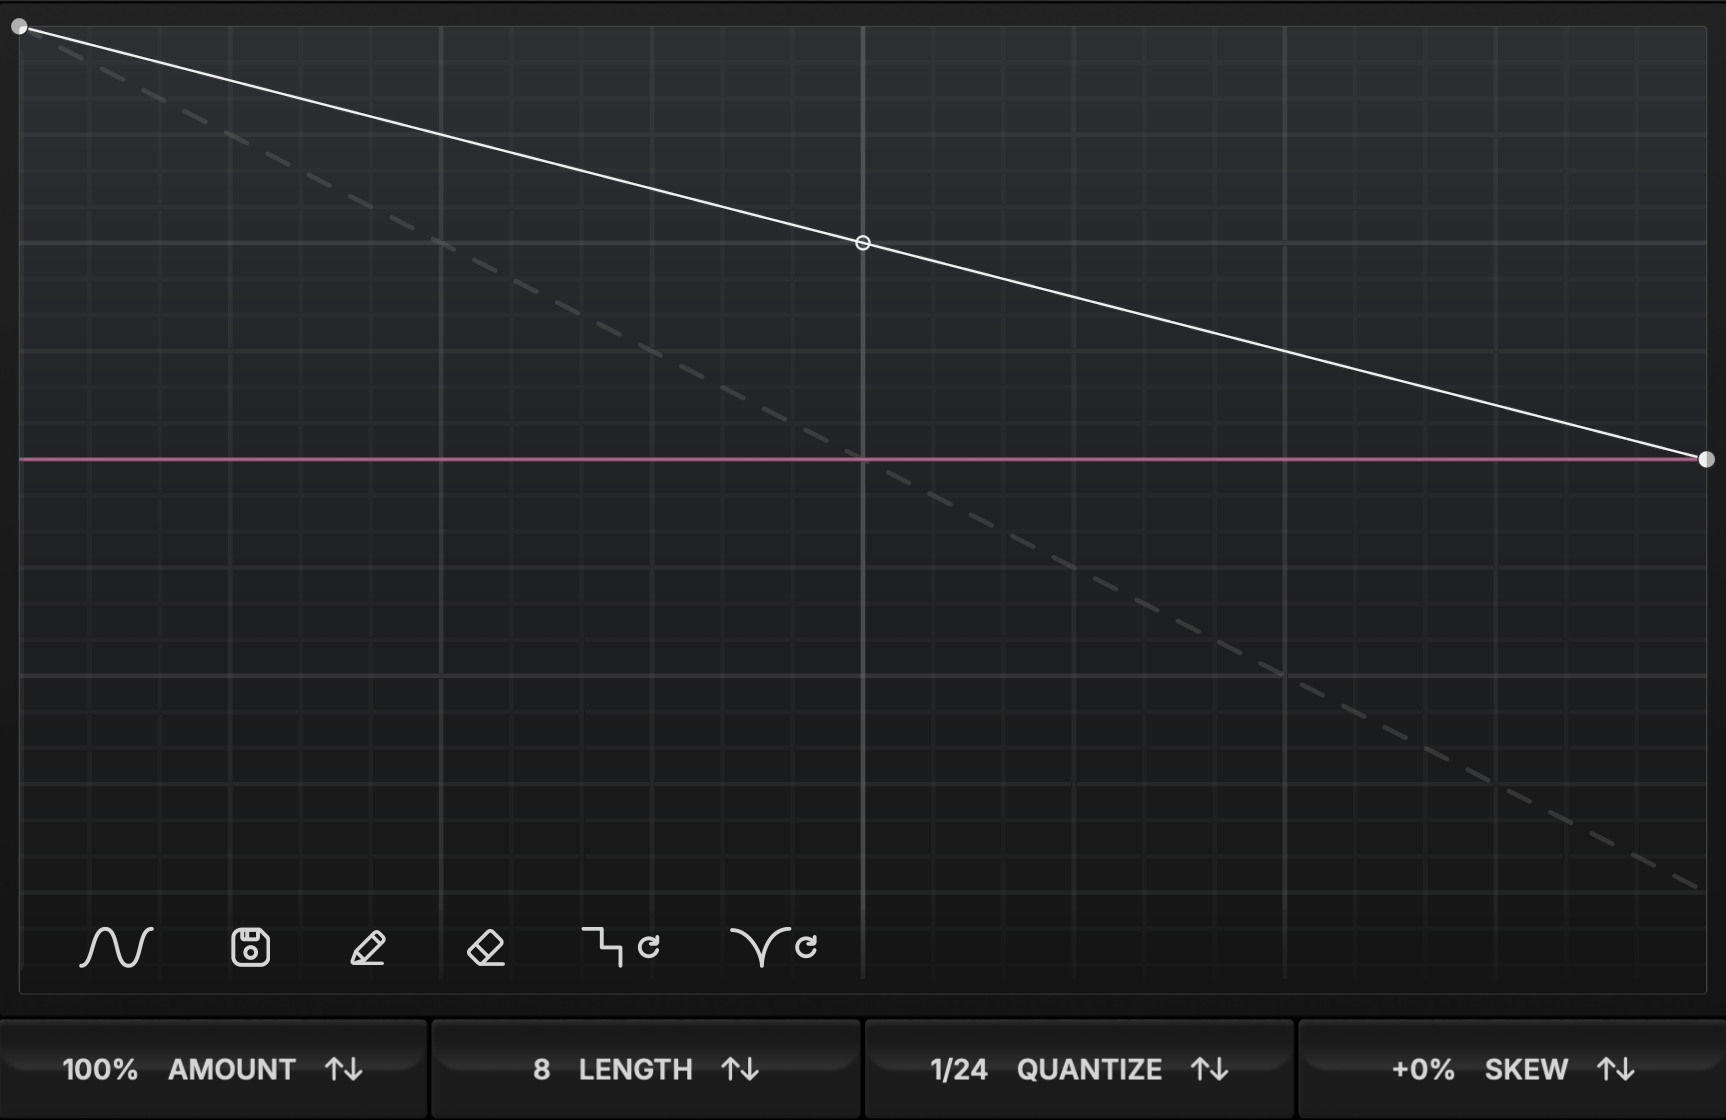
As the slope becomes steeper, the playback speed becomes slower until it reaches the stopped position at the second dotted line on the interface at 45 degrees.
At slopes steeper than 45 degrees, the granular engine plays the stored material back in reverse, with the reverse playback speed increasing as the angle becomes more severe.
Conversely, when the line between two breakpoints runs from low to high, the stored material plays back normally, but faster than the original material as the slope increases.
Dragging the midpoint between two breakpoints creates a curve pattern that results in a change over time in the playback speed:
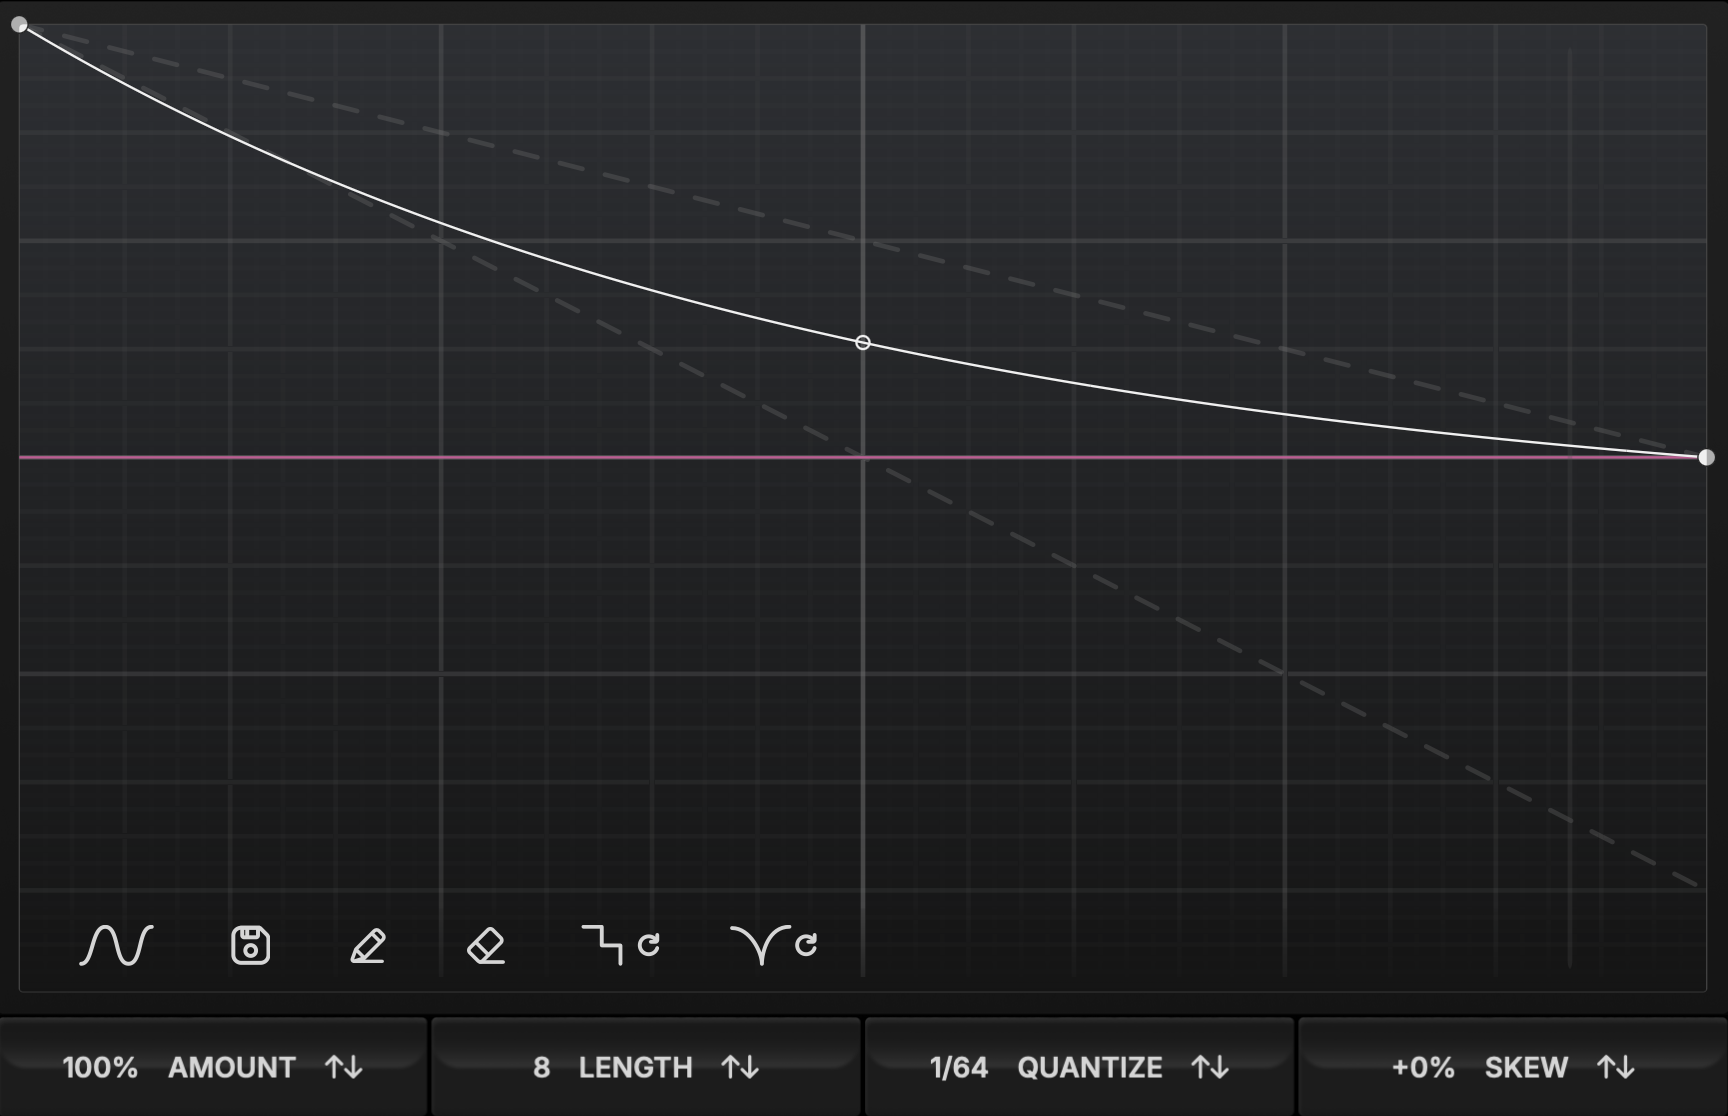
Using a combination of stairsteps, sloping lines and curves, you can draw any pattern of rhythm and tempo manipulation imaginable.

The panel along the bottom of the graph interface gives you the following options:
Below that, you’ll find the graph transform options as follows:

The Amount control sets the intensity of the graph pattern by scaling the position of the set breakpoints up towards the neutral top position as you decrease it from 100%.
Use it to quickly modify your patterns along the graph’s vertical axis and instantly make any speed changes less severe by decreasing the angle of their slope.
Length sets the total duration of the window processed by HyperWarp in beats, from a half note (½) to 4 bars (16).
The quantization control sets the resolution of snap points on the grid from 0 (unquantized) to 64. Higher settings provide more divisions of the available space on the grid as a function of the total length of the graph sequence set by the length control.
The skew control shifts the midpoint of the graph’s horizontal axis left or right from the center position at 0%.
Use it to quickly create interesting variations by proportionally shifting your entire graph pattern left or right.
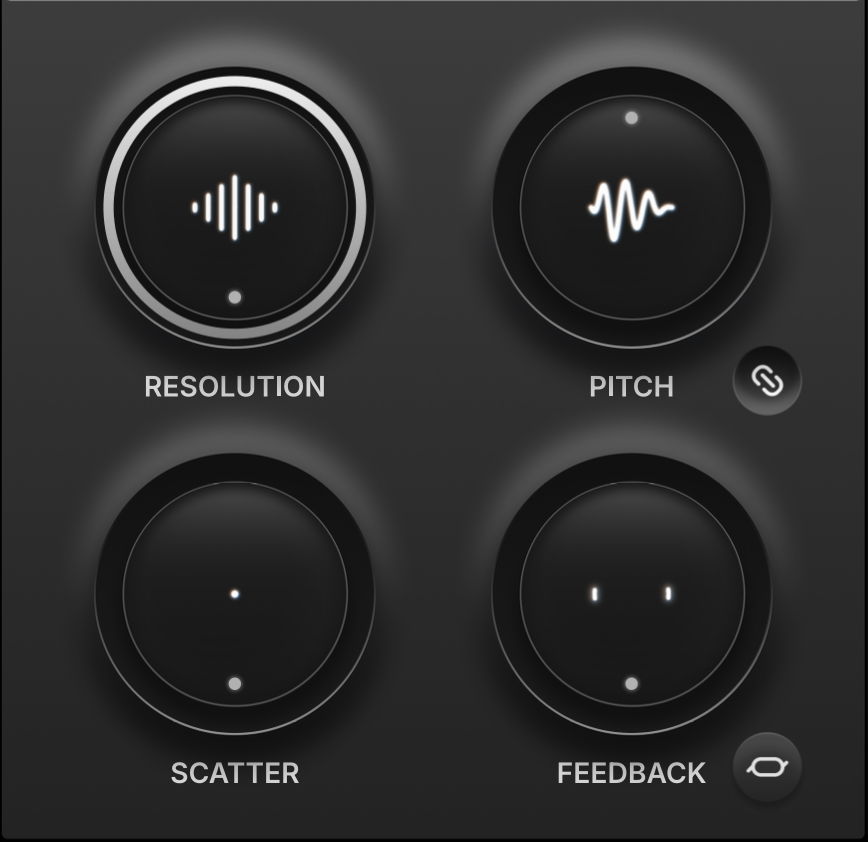
The Resolution control sets the length of the microsampled snapshots HyperWarp uses to create its effect. Keep it at maximum for the cleanest time warping, or decrease it to experiment with the effect of larger slices.
Pitch lets you cleanly shift the pitch of the material being processed by HyperWarp by up to two octaves in either direction.
Constrains the pitch value to semitone divisions with a range of two octaves above or below the original pitch.
The scatter control introduces randomness to the playback position of the microsampled slices within the processing window. As the scatter value increases, the intensity increases until the playback position can be set randomly from any position within HyperWarp’s processing window.
Feedback introduces a variable amount of signal from the previously generated slice into the next, creating a cascading effect.
Combine feedback with the different parameters available in the various profiles to intensify their effect.
Vary the stereo position of alternating repeats generated by the feedback for a spacious ping-pong delay effect.
HyperWarp comes wit seven different profiles for a wide range of creative possibilities with its warp sequencing graph input.
Each profile offers four unique controls and represents a different configuration of parameters inside the granular engine. Different profiles can result in completely different sonic behavior, even with the the same graph input pattern. Use the profile selector dropdown menu to choose between profiles.
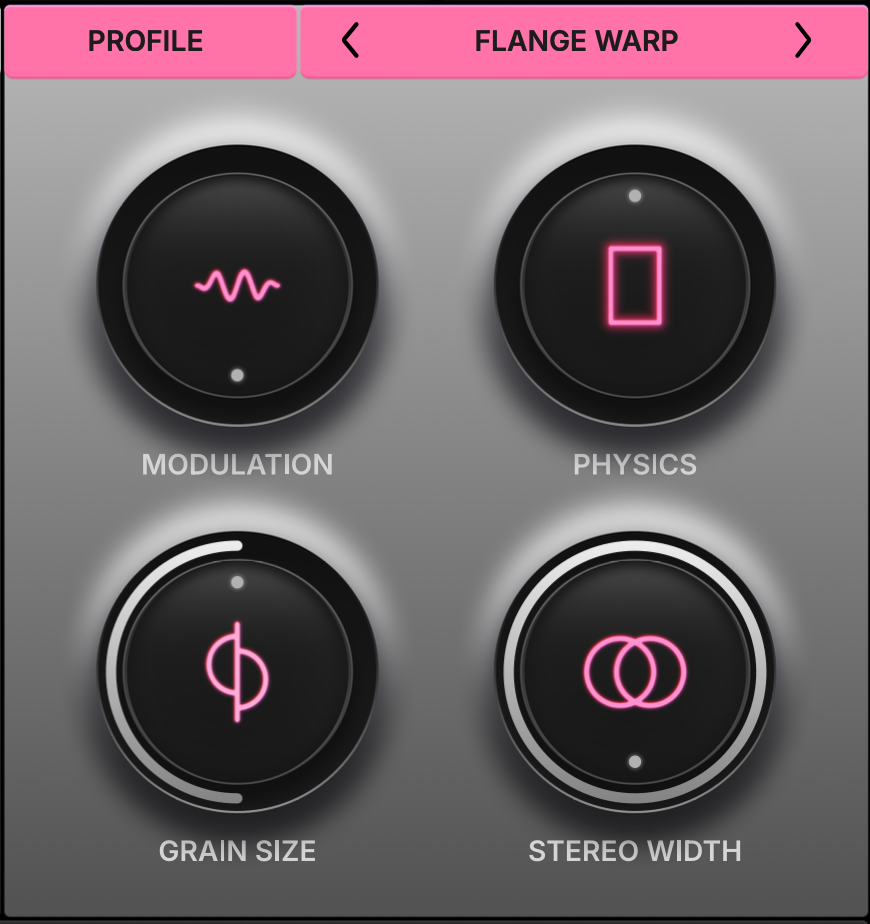
The Flange Warp profile configures HyperWarp's underlying grain engine with tight grains that produce a squeaky modulation effect with changes in playback speed. The physics control determines how pitch and time interact, with pitch linked to playback speed when the dial is fully clockwise for traditional time warp sounds.
Flange Warp profile offers the following parameters:
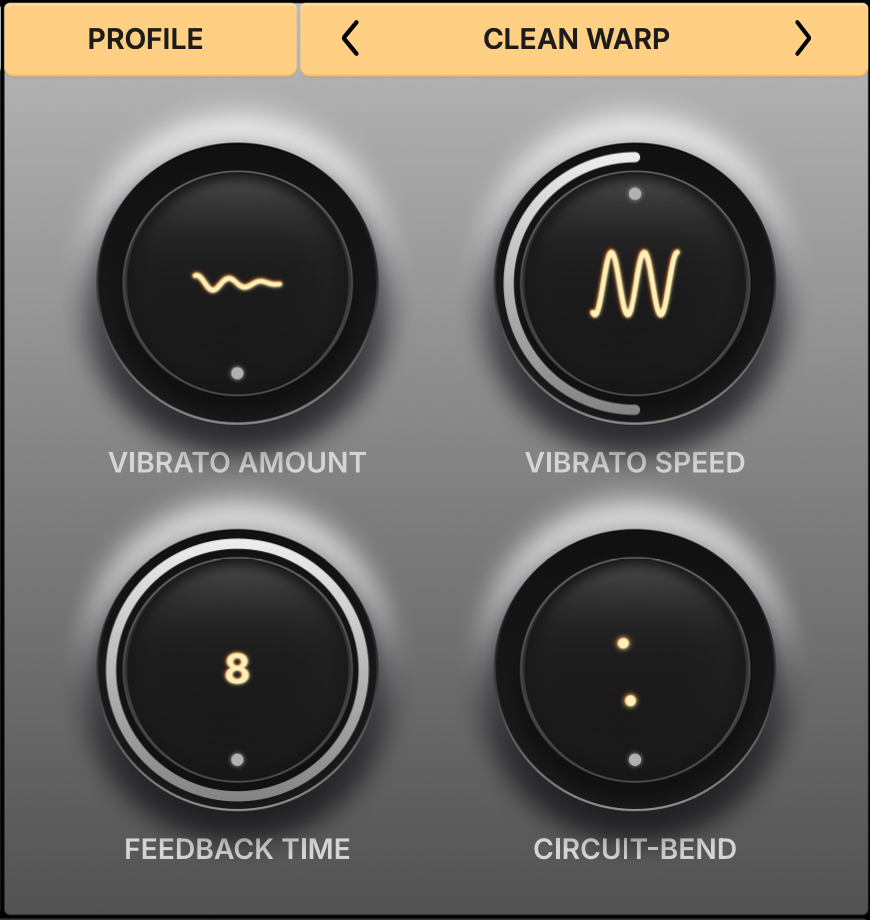
Clean Warp provides the cleanest time warping sound from HyperWarp’s granular engine. Use it for transparent tonal glitching, pitch-independent speed effects and any other situation where preserving the timbre of the source material is desired.
Clean Warp offers the following profile parameters:
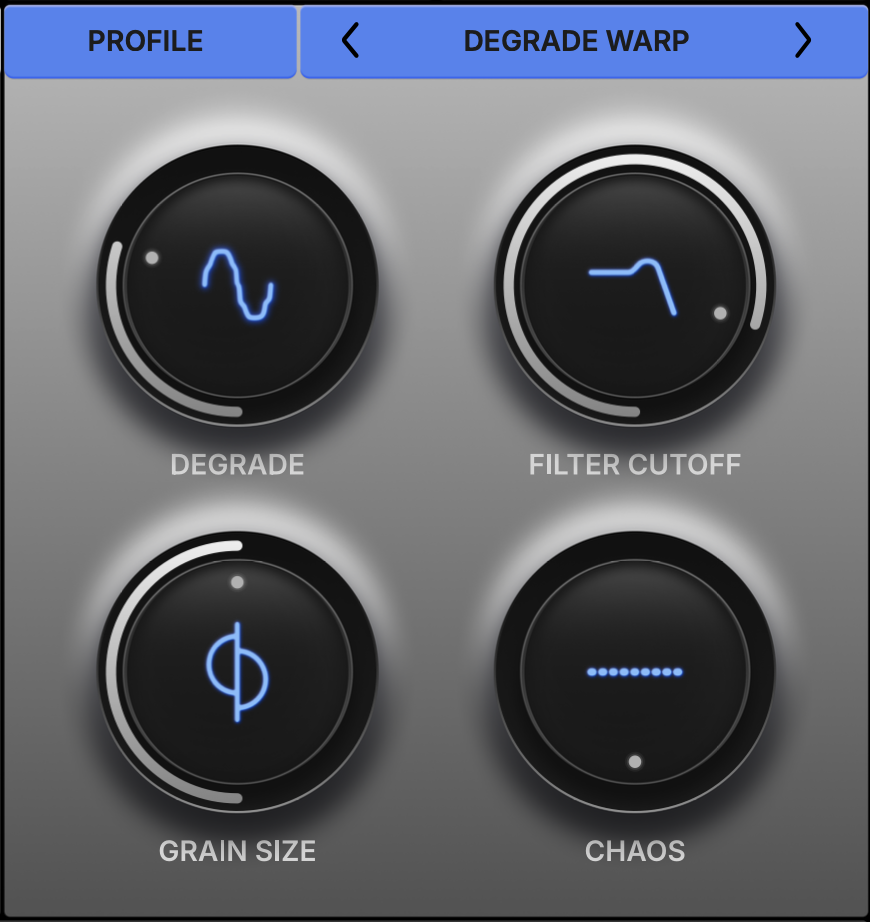
Degrade Warp lets you introduce digital downsampling to HyperWarp's time warping effect. It creates sample reduction distortion at the level of the individual grains and manipulates them further with pitch randomness and and filter effects.
The Degrade Warp profile offers the following parameters:
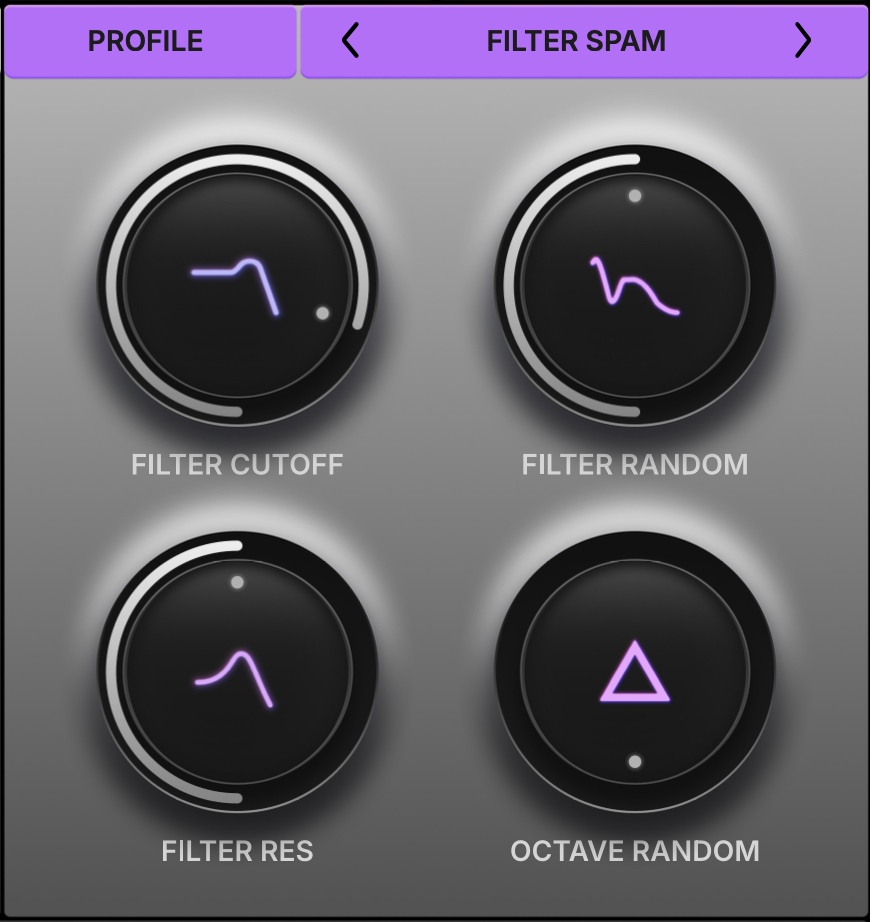
Filter Spam introduces per-grain filter effects with randomness, speed fluctuations and unpredictable pitch behavior.
The Filter Spam profile offers the following parameters:
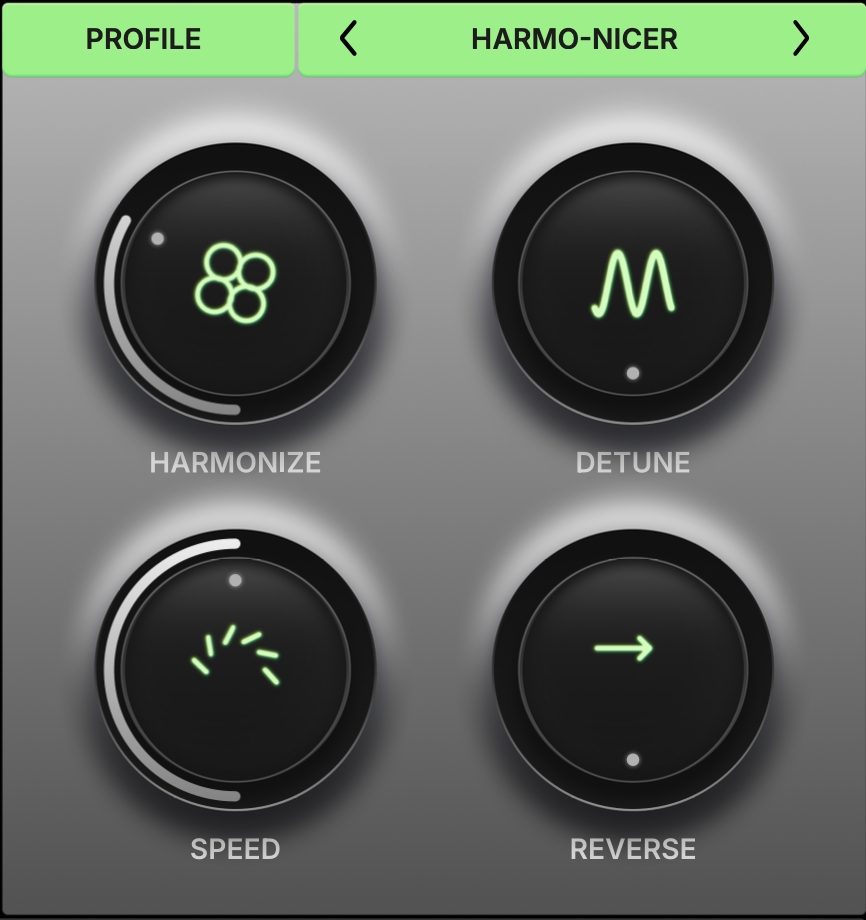
The Harmo-nicer profile increases tonal density by generating grains at octaves and fifths above the source signal. The result is a sparkling, textural dispersion of the input with a shiny and magical quality.
The Harmo-nicer profile offers the following parameters:
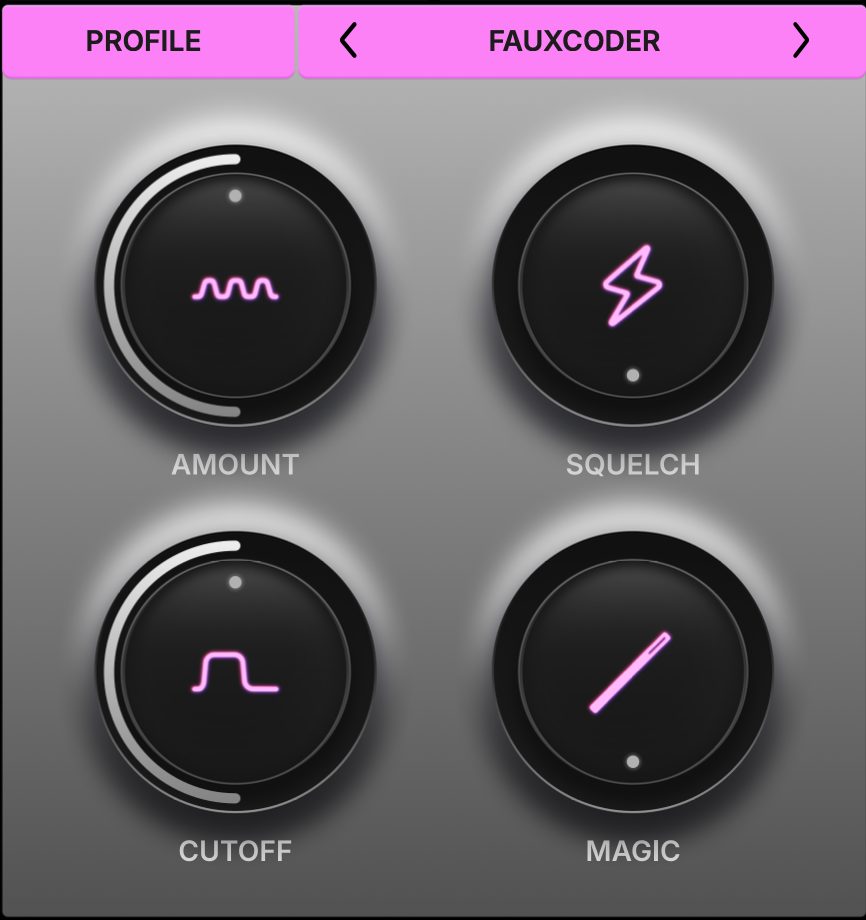
The Fauxcoder profile brings a resonant quality to the grain generation that’s reminiscent of classic vocoder effects, despite its completely different processing paradigm. Use it to add resonant harmonics and warp them with swirling filter movement that descends into sci-fi chaos at extreme settings.
The Fauxcoder profile offers the following parameters:
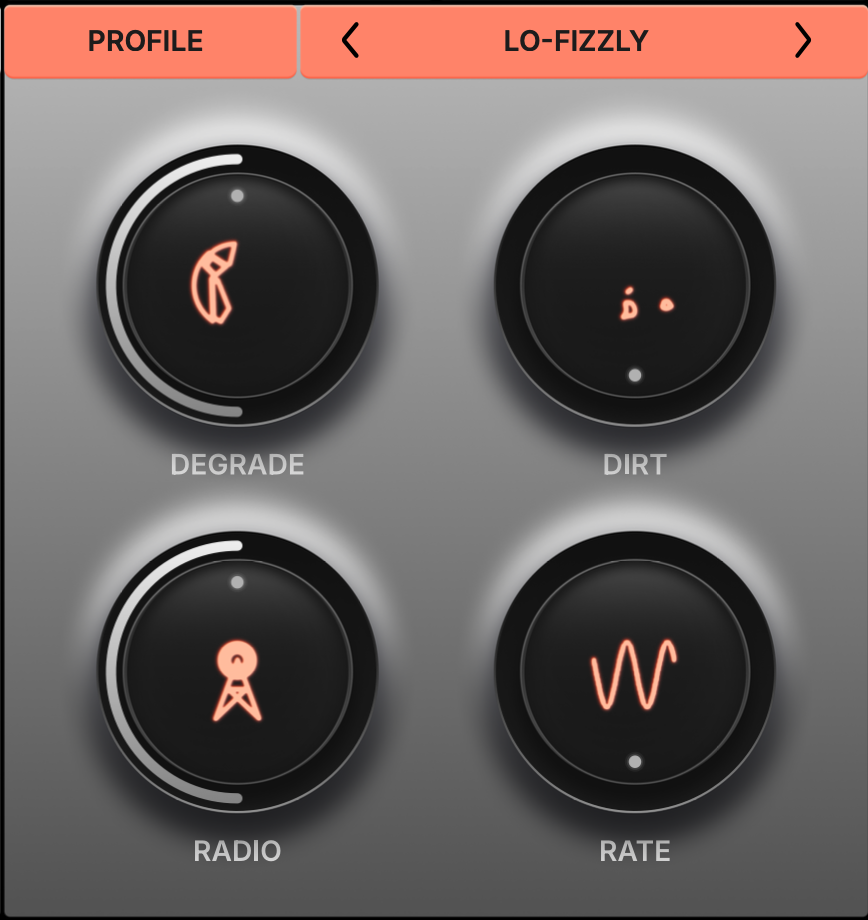
Lo-fizzly introduces an effect similar to digital downsampling or degraded radio-style filtering as new grains are generated. Its unique fizzly character is perfect for creating textural lo-fi effects with a granular twist.
The Lo-fizzly profile offers the following parameters:

Set the blend of processed and unaffected signal to create hybrid sounds mixing wet and dry.
Set the cutoff frequencies for a low-pass filter and high-pass filter on the processed signal using the dual slider control.
This lets you apply HyperWarp’s processing to a limited frequency range only for more advanced blend settings.
Set HyperWarp’s global output level.
Resize HyperWarp’s UI to fit your preferred workspace
HyperWarp comes loaded with over 190 presets created by leading producers, artists and sound designers.
Preset credits (and special thanks to):
Download instructions are emailed to you right after your purchase, however you can always go to www.babyaud.io/account for the latest software updates. After downloading, unzip the file and select either Mac or PC depending on your system.
If you have an active subscription to the Plugin Collection Plan, HyperWarp will appear in your Baby Audio Manager app for download.
Make sure your machine is registered, get the software by clicking ‘Download’ and follow the instructions to install.
Activate your software by entering the license key that was provided in your account when you bought HyperWarp. Serial keys are entered in the ‘trial mode’ open screen. If you have any problems activating, please email support@babyaud.io
If you’re running HyperWarp in trial mode, please note that the trial will output 5 seconds of silence every 60 seconds. To buy the full version, go to: https://babyaud.io/hyperwarp
Mac OS
Windows
Please read our End User License Agreement here: www.babyaud.io/eula
We hope you’ll enjoy HyperWarp! If you run into any issues or have questions along the way, you can always contact us at support@babyaud.io