No items in cart
Buy 2 Get 1 Free
Add 3 products to the cart and get the cheapest for free at checkout.
Add 3 products to the cart and get the cheapest for free at checkout.

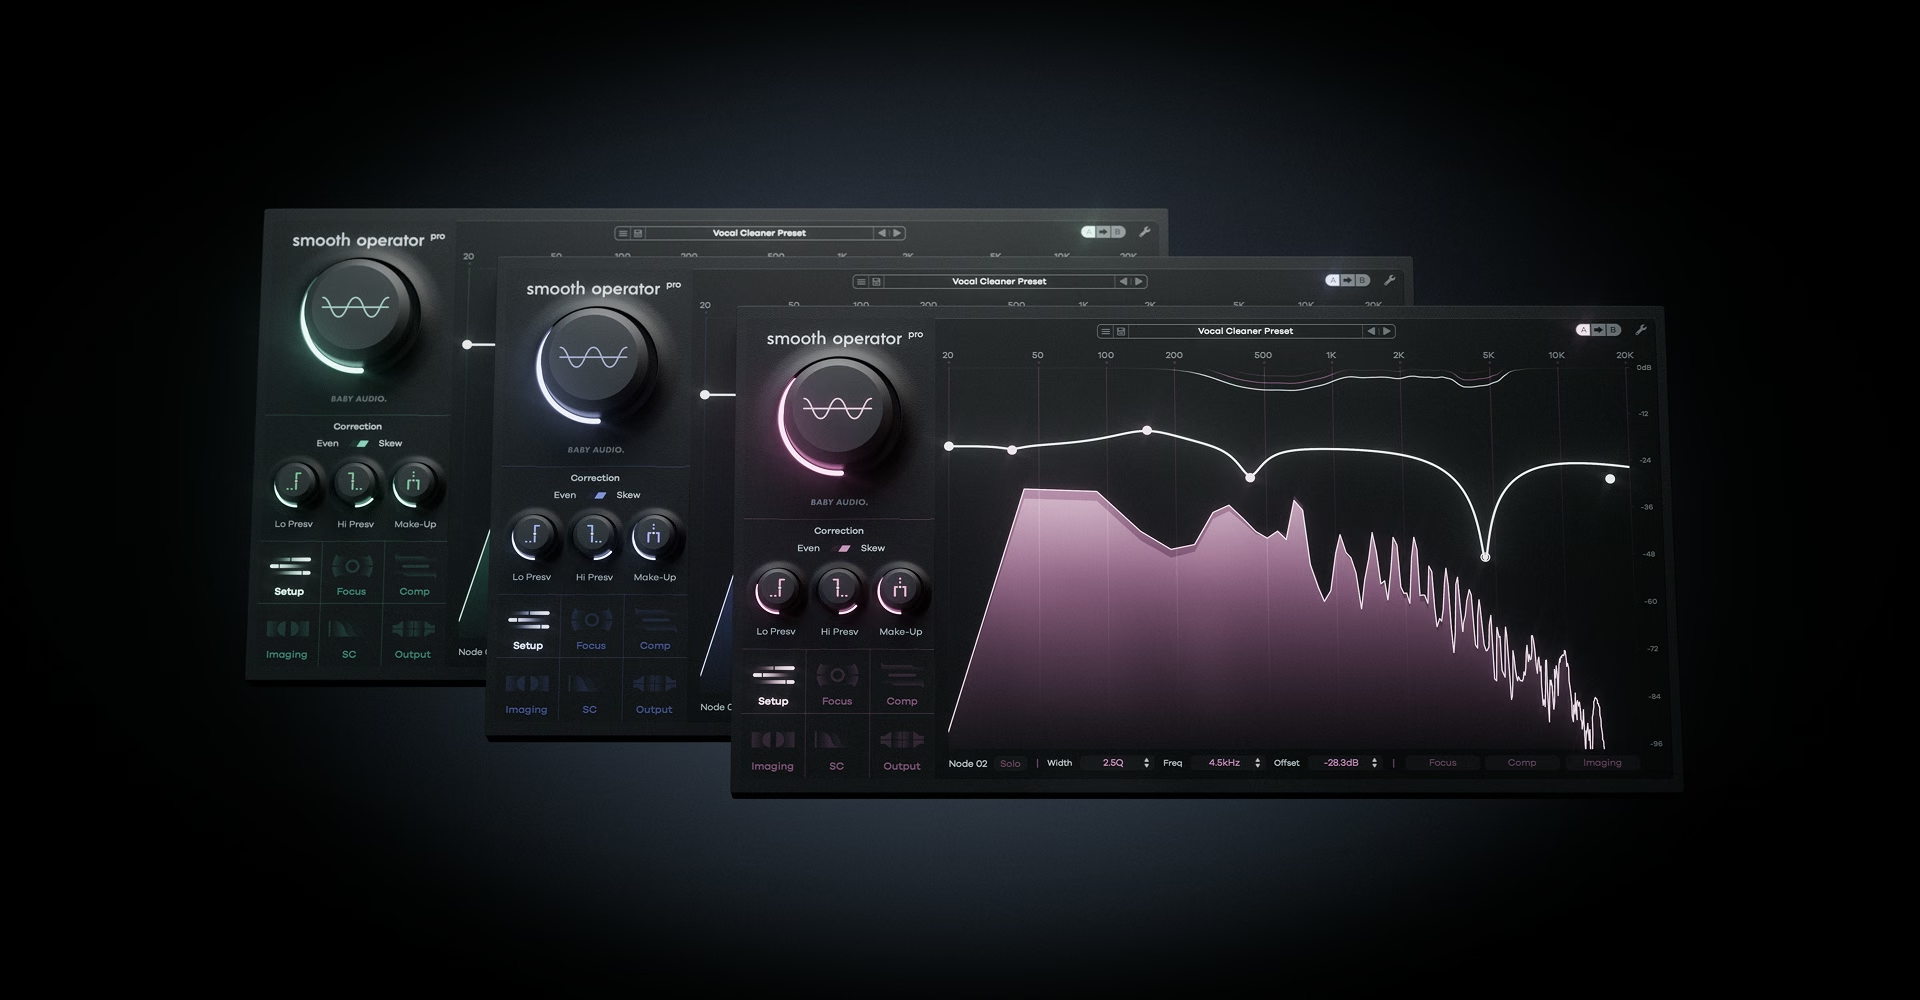
Smooth Operator Pro is the advanced edition of our harmonic signal balancer plugin. Built to give you direct access to the raw materials that make up your sound, Smooth Operator Pro takes resonance suppression and spectral dynamics into new territory. Leave harshness, mud and masking behind with a new and flexible approach for taming harmonic material in your mix.
Smooth Operator Pro lets you work directly with the spectral content of your sounds to powerfully reshape your mix and combat fatiguing frequency energy.
With compressor-style controls, you can easily reduce resonant frequencies and rebalance audio material to fix mistakes and improve results.
Use the graphical display to see concentrations of frequency energy in real time.
Double click to create a processing node and use the global threshold knob to detect harmonic peaks across your whole signal.
Drag a node downwards or turn up the threshold knob to start applying spectral peak reduction.
Adjust the onset and release characteristics, peak reduction ratio and knee shape with the Com menu.
Choose the detection style and resolution with the Focus menu. Access the stereo field options with the Imaging menu. Adjust the overall behavior with the Setup menu.
Set the global output and wet/dry mix or monitor the removed harmonic material in the Output menu. Change the node width, adjust its dedicated settings or hear it in solo with the Node menu.
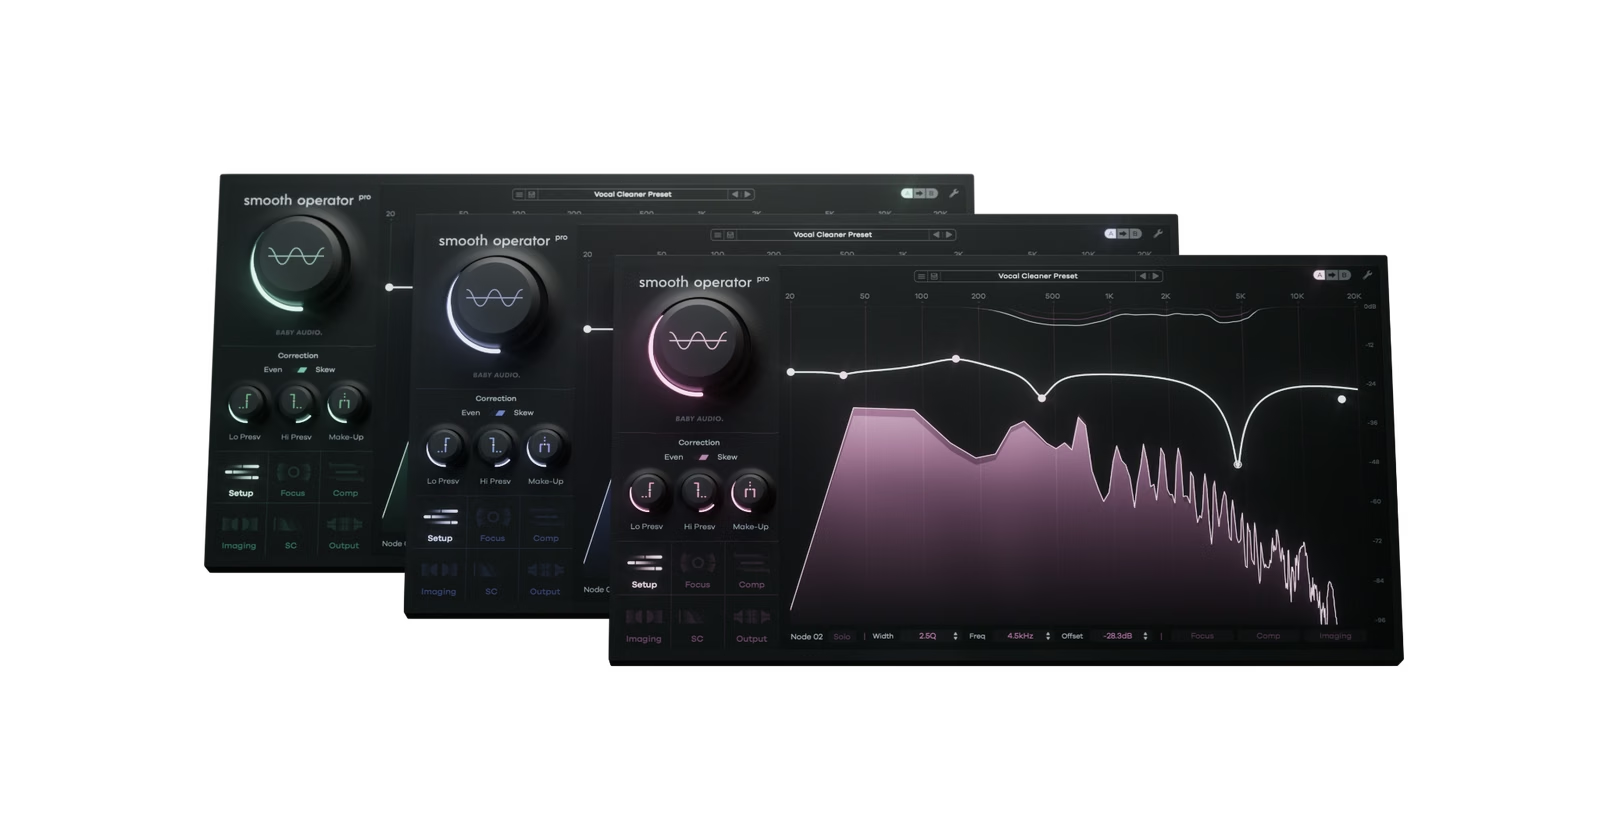
Smooth Operator Pro works by breaking your signal down into its individual frequency components and changing their intensity over time.
It lets you apply compressor-style gain reduction to harmonics that cross the threshold while leaving the others untouched.
For some, it may feel like a new way to think about manipulating audio, but once you get the hang of it, you’ll find new capabilities and creative ideas using Smooth Operator Pro. To get you started, here are a few of our favorite ways to use the plugin.
Most signals, whether individual tracks or full mixes, suffer from having excess frequency build-up in certain areas. You may not notice fatiguing frequency energy until you start trimming it away. When you do, you’ll hear your tracks become lighter and clearer – almost as if removing a blanket from your speakers.
Smooth Operator Pro’s most effective use-case is to make this job easier than ever. In fact, it’ll do it for you! Because the plugin works dynamically, it will only target frequencies that surpass the threshold, updating its focus areas and intensity as your track changes.
Use Smooth Operator Pro as an instant track cleaner by selecting an appropriate preset and moving the global threshold knob. Or go as deep and surgical as you need to achieve perfect clarity.
Harshness can creep up in any source signal when there’s lots of sonic information present. Notching it out band by band with EQ can wreak havoc on the sound’s original character and introduce problems like phase shift.
Smooth Operator Pro lets you reduce harsh resonances without damaging EQ filters for a more natural sound.
Smooth Operator Pro works equally well across the entire frequency spectrum.
Low end harmonics can often be a struggle to control, even with sophisticated tools like multi-band compression.
When you’re dealing with conflicting kick samples or unruly bass that seems to change with every note, it may be a sign that harmonic resonance is building up in the wrong places.
Use Smooth Operator Pro’s shelving filters to zoom in on your low end and carve out harmonic space where it matters most.
Sometimes your source sound is just right, except for one pesky area in the left or right channel. Reducing problematic material between channels rarely works well with traditional tools.
Smooth Operator Pro’s powerful imaging controls let you adjust harmonics independently of their location in the stereo field.
With per-node L/R or M/S imaging options, Smooth Operator Pro can solve problems in complex stereo signals with ease.
Masking is the phenomenon that explains why sounds cover each other up when mixed together. The culprit is the concentration of energy across similar parts of the spectrum.
Skilled engineers can reduce the effect of masking with EQ, but it’s always a compromise between the two sounds in question.
Spectral dynamics control can’t eliminate the cause of masking, but it can help reduce it faster and more effectively—especially when you’re not an EQ expert.
There’s a lot you can do with Smooth Operator Pro to help your sounds fit into a mix. But that’s just the start when it comes to the creative possibilities of spectral dynamics processing.
Smooth Operator Pro is powerful enough to rebalance the harmonics in your signal into pure noise. You probably don’t want to go there most of the time—but you’re welcome to try!
Add in the sidechain features and you open up a unique pathway for the sounds in your mix to interact with one another.
Smooth Operator Pro is capable of both sweeping tonal shifts and surgically precise adjustments.
If you want to attenuate spectral peaks across your whole signal, simply turn up the threshold knob without creating additional frequency nodes.
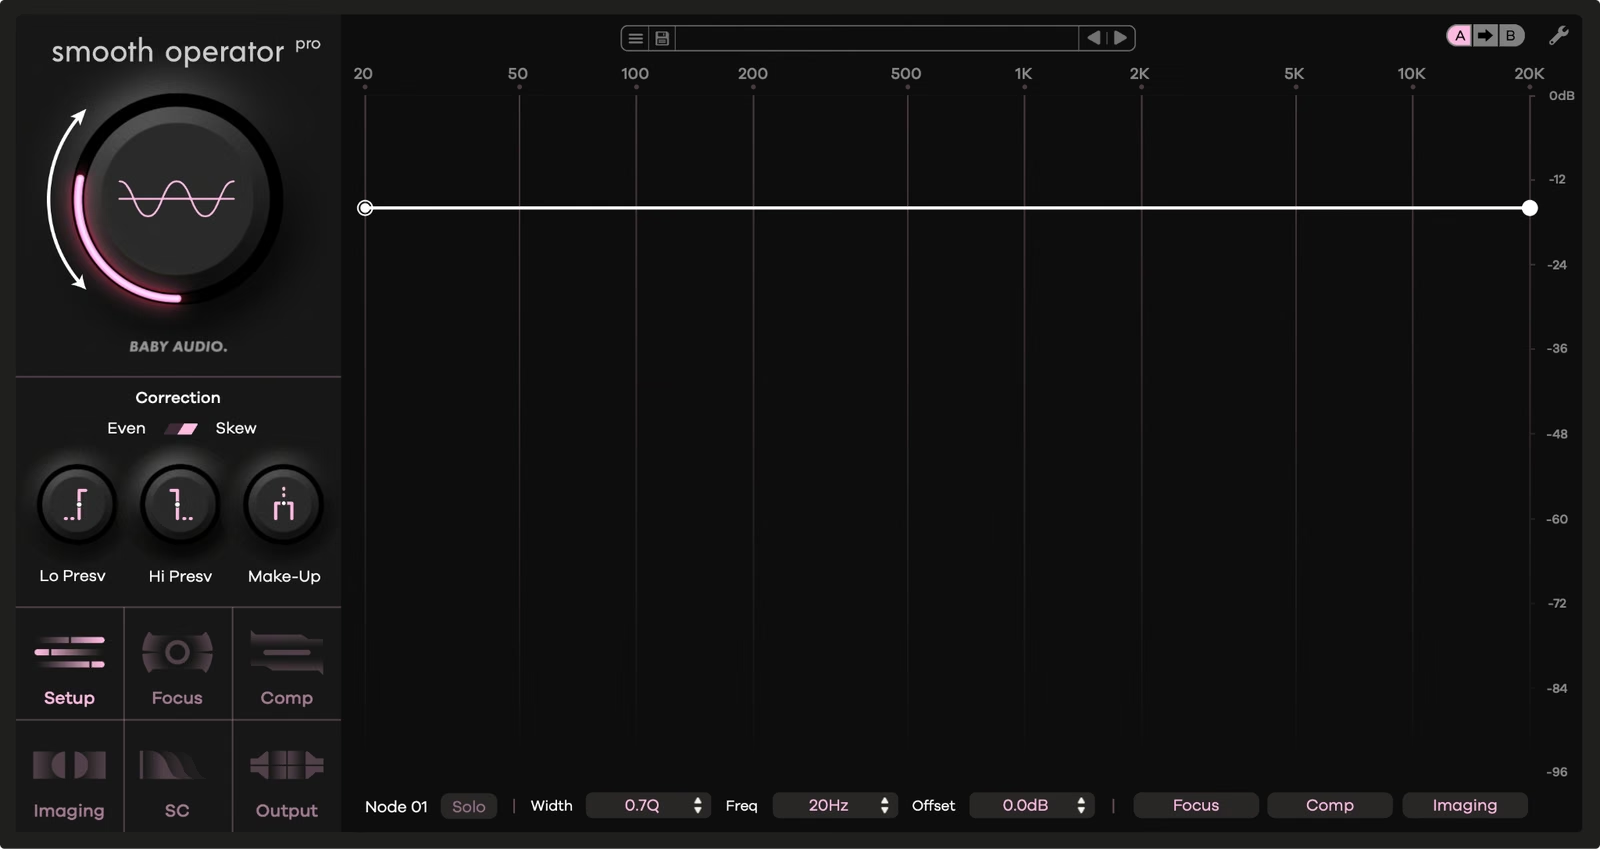
Increase the intensity of the effect with the ratio control and adjust the attack and release just like a compressor to control resonant frequencies and rebalance your sound.
To focus Smooth Operator Pro’s action on a specific frequency area, use the parametric node controls to define the range for processing.
Create nodes by double clicking anywhere on the spectrum. (Remove nodes by double clicking or right clicking.)
As you drag the selected node downwards, the threshold for the affected frequencies will decrease, leaving the rest at the threshold value set by the global control.
The characteristics of the spectral peak reduction blend seamlessly into the unaffected frequencies as the threshold decreases, so there’s no need to worry about extreme settings causing inconsistent sound.
To set detailed controls per node, use the node menu bar along the bottom of the plugin UI with the Override Global option selected.
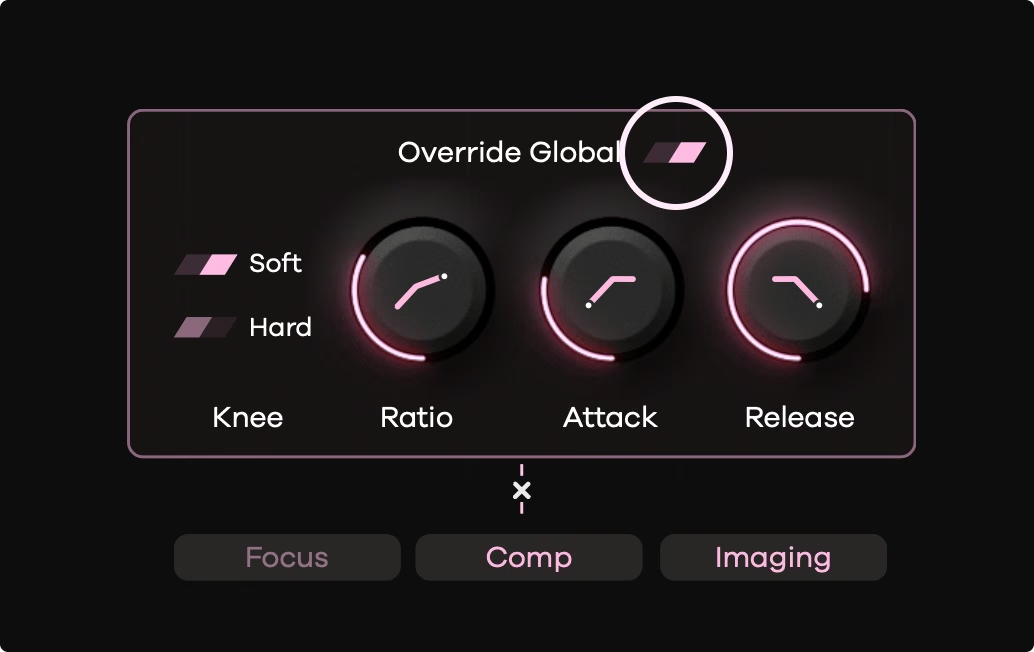
This way you can set custom peak reduction characteristics for each node and address any issue in your signal as needed.

From left to right, the top menu gives you the following options:
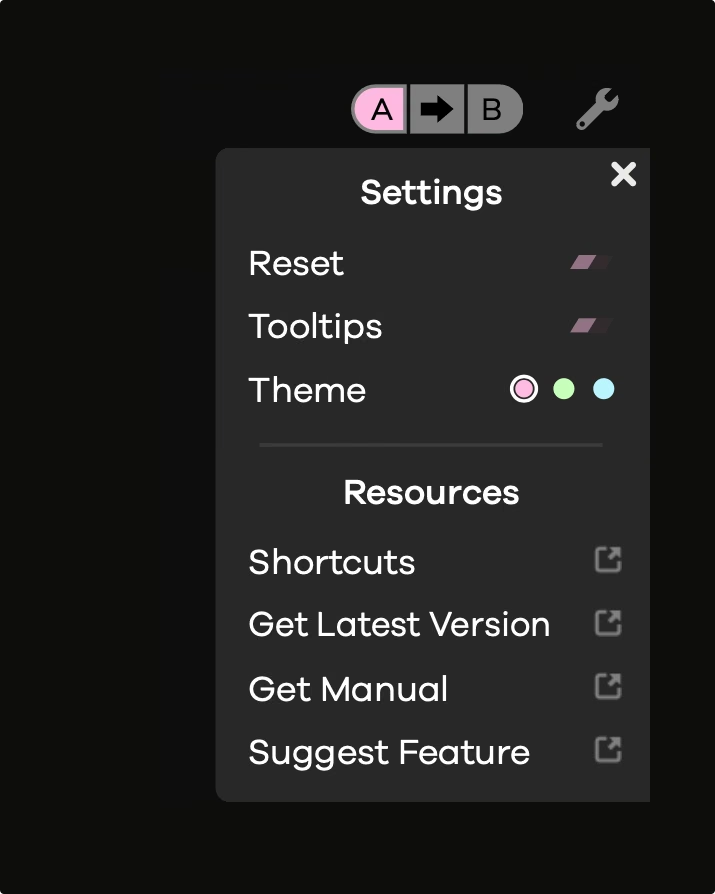
Return all settings to initialization state.
Show the tooltips for the parameter in focus.
Select the colorway for Smooth Operator Pro’s UI.
Open a list panel to quickly view Smooth Operator Pro's mouse and keyboard shortcuts
Download the most recent build of Smooth Operator Pro.
Download the PDF manual.
Contribute to Smooth Operator Pro’s development.
Double click anywhere in the frequency spectrum to create a node. Drag nodes to change their position, decreasing their threshold as you pull them down.
Double click or right click a node to delete it.
Set the level where global spectral peak reduction begins for the entire signal.
Global settings affect all active nodes as well as the behavior of the spectral peak reduction set by the Global threshold control.
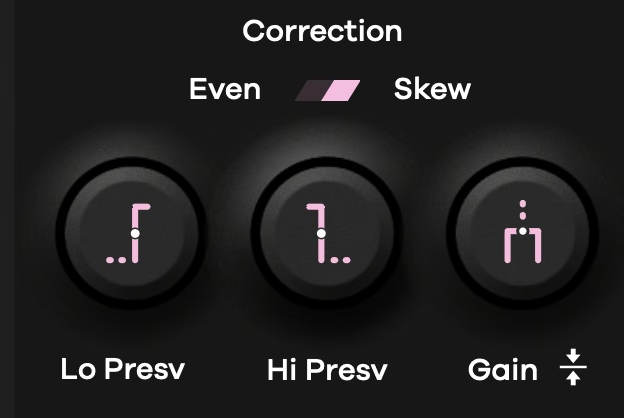
Set the weighting of the frequency detection. Choose Even for a flat profile that targets all frequencies equally or Skew for a perceptually weighted curve that is calibrated to be more psychoacoustically pleasing.
Add makeup gain to compensate for level changes after spectral peak reduction. Click the Auto Gain icon next to the control label to match the level of the processed signal with the input.
Auto Gain does not continuously adjust the output signal in order to avoid uneven level changes. Instead, use the Auto Gain control to instantly match the input and output signal as needed.
Restrict the range of processing in the high and low end to hone in on specific frequency areas you want to target. Preserved frequencies will still be present in your output signal, they will just not be processed by the plugin.
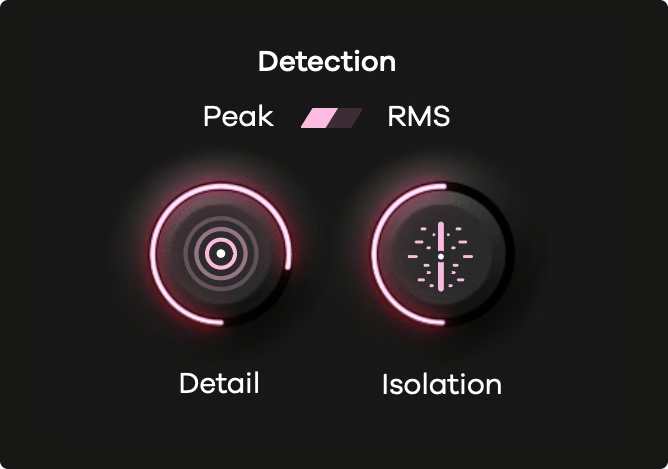
Set the detection type for spectral peak reduction. Choose RMS for average spectral intensity or Peak to react to the highest magnitude in the signal.
Set the resolution of the spectral peak detection. Low values detect broad trends in intensity, while high values isolate individual frequency peaks. The more you want to hone in on specific problems or resonances, the higher you’ll want to set Detail.
Adjust the boundaries of the spectral peak detection to include adjacent frequencies. Maximum values target only the detected harmonics, lower values include more surrounding frequencies for a softer, more musical response.
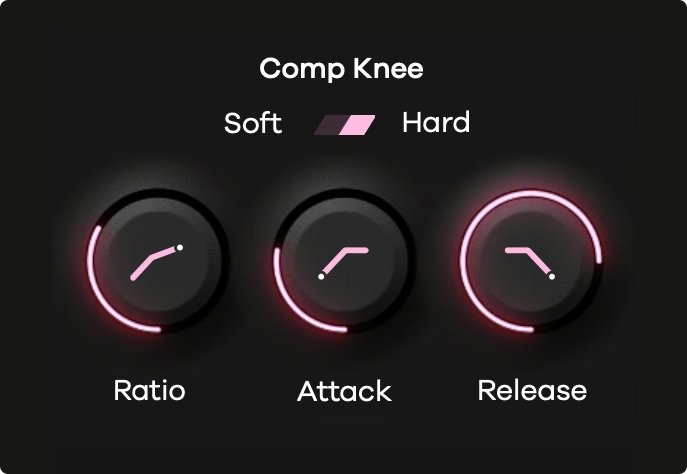
Adjust how smoothly the spectral peak reduction transitions from unprocessed to processed. Choose Soft for a gradual increase toward the set ratio or Hard for a more abrupt transition.
Set the intensity of spectral peak reduction when the signal crosses the threshold. Use 1:1 to disable compression.
Adjust the onset time of the spectral peak reduction.
Set the time it takes for spectral peak reduction to return to normal after engaging.
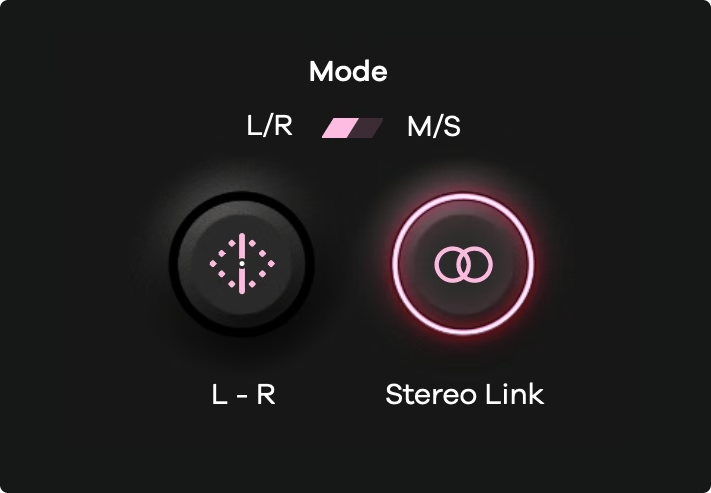
Set the stereo processing mode for dual channel audio. Choose L/R to adjust settings separately for left and right channels, or M/S to adjust center and sides.
Skew the intensity of the spectral peak reduction between left and right in L/R mode. Skew the intensity of the spectral peak reduction between mid and sides in M/S mode.
Set the stereo balance of the spectral peak detector signal. 0% treats the L and R channels independently, 100% sums the detection signal to mono.
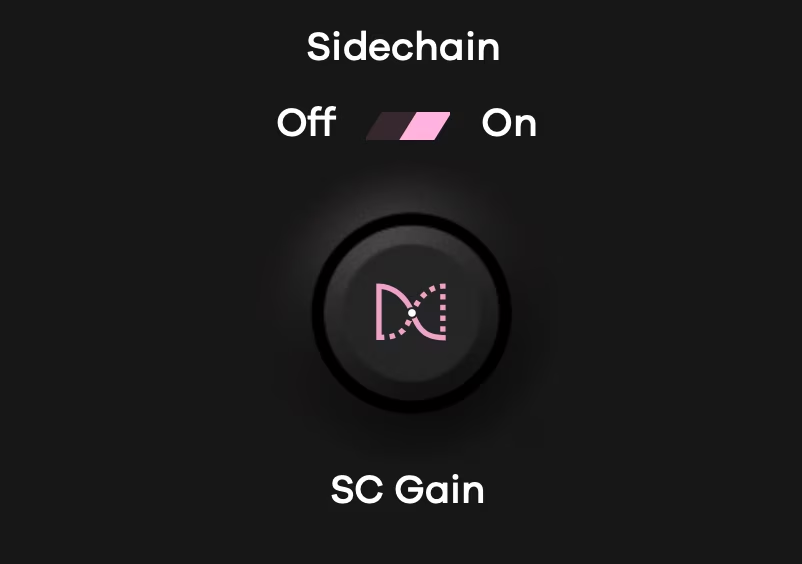
Set the sidechain behavior for routing signals from other tracks to Smooth Operator Pro's detector section. Set the sidechain toggle to 'On' to enable external track input and route your desired track's output to Smooth Operator Pro following your DAW's sidechain conventions. Use the CS Gain control to set the level of the sidechain input going into the detector.
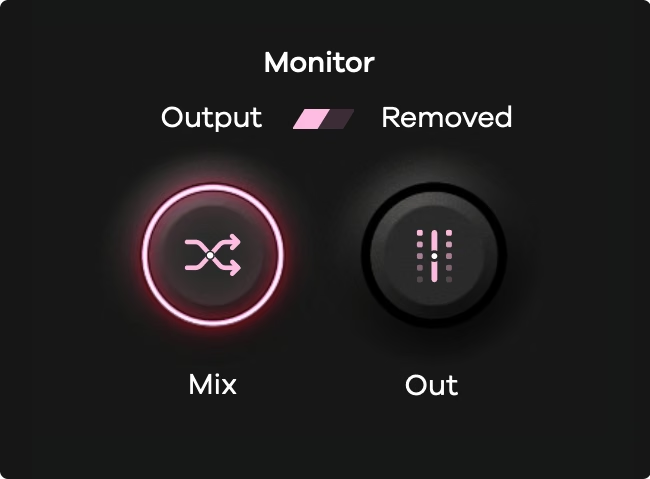
Monitor the plugin’s output or hear only the spectral content Smooth Operator Pro has removed from the signal.
Set the wet/dry mix to blend the original signal with the effect.
Set Smooth Operator Pro’s global output level.

Click the node label to turn the node processing on/off.
Solo the selected node to hear its effect in isolation.
Set the bandwidth (Q) of the node’s frequency range for processing.
Set the center frequency of the node’s action.
Set the spectral peak reduction threshold for the node’s selected frequency range (measured as an offset from the global threshold).
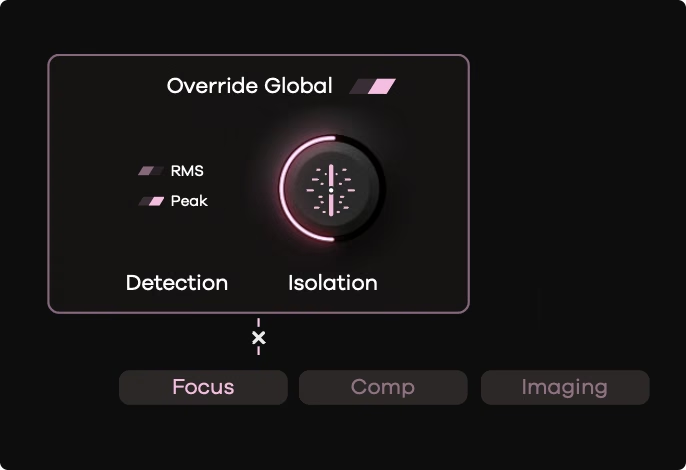
Use custom Focus values for this node instead of the Global Focus settings when Override Global is enabled.
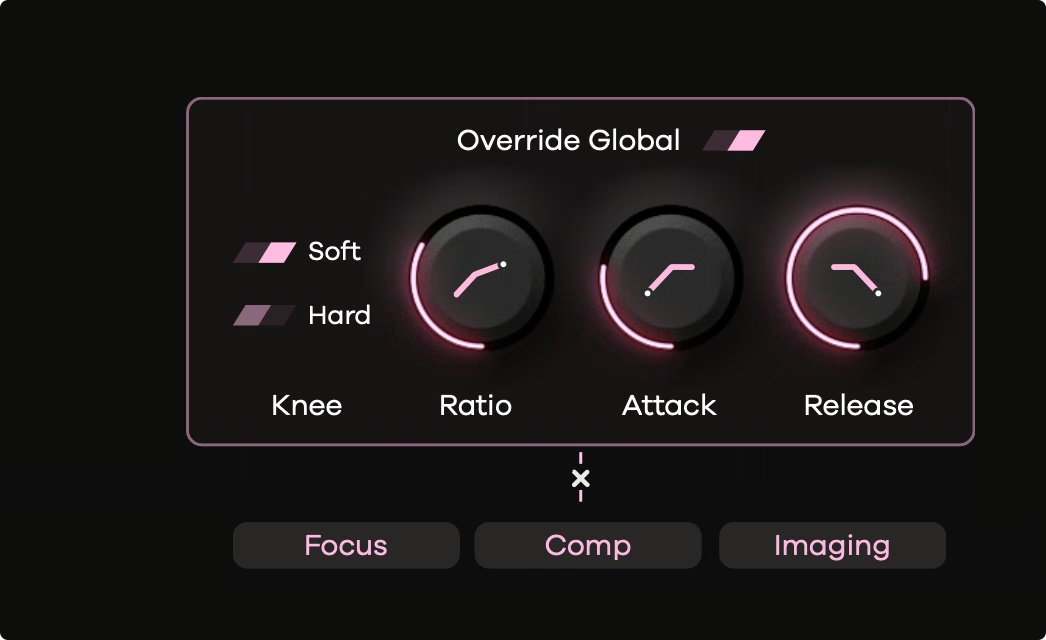
Use custom Comp values for this node instead of the Global Comp settings when Override Global is enabled.
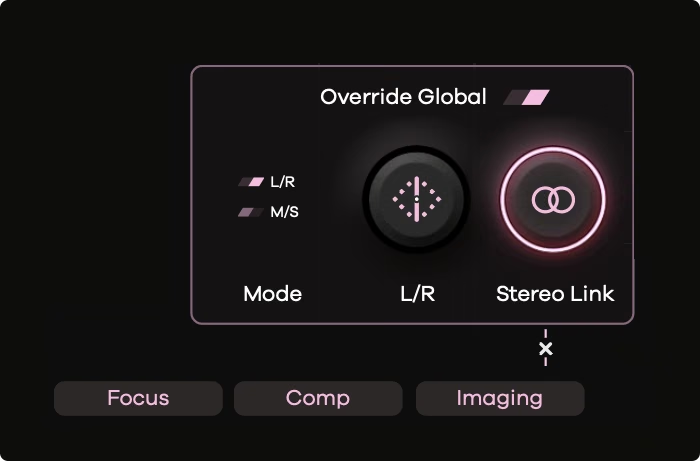
Use custom Imaging values for this node instead of the Global Imaging settings when Override Global is enabled.
Smooth Operator Pro comes equipped with several shortcuts to speed up your workflow.
Smooth Operator Pro comes loaded with 184 presets created by leading sound engineers.
Preset credits (and special thanks to):
A software download is emailed to you right after your purchase, however you can always go to www.babyaud.io/downloads for the latest software updates. After downloading, unzip the file and select either Mac or PC depending on your system.
If you have an active subscription to the Plugin Collection Plan, Smooth Operator Pro will appear in your Baby Audio Manager app for download.
Make sure your machine is registered, get the software by clicking ‘Download’ and follow the instructions to install.
Activate your software by entering the license key that was emailed to you when you bought Smooth Operator Pro. Serial keys are entered in the ‘trial mode’ open screen. If you have any problems activating, please email support@babyaud.io.
If you’re running Smooth Operator Pro in trial mode, please note that the trial will output 5 seconds of silence every 60 seconds. To buy the full version, go to: https://babyaud.io/smooth-operator-plugin
Please read our End User License Agreement here: www.babyaud.io/eula
We hope you’ll enjoy Smooth Operator Pro! If you run into any issues or have questions along the way, you can always contact us at support@babyaud.io.


.png)