Add 3 products to the cart and get the cheapest for free at checkout.
What is a Dynamic Resonance Suppressor? How to Fix Harsh Frequencies In Your Mix

Dynamic resonance suppressors are some of the newest mixing plugins to gain popularity among producers and engineers.
It’s a unique method of controlling frequency content that’s different from traditional tools like EQ or multiband compression.
But what really is dynamic resonance suppression, and how can you use it to get better results in your mix?
In this article, I’ll break down the basics, explain why it works and give my top suggestions for where to use it in your production.
Let’s get started.
What is dynamic resonance suppression?
A dynamic resonance suppressor is an audio processor that selectively reduces unwanted resonant frequencies without altering the character or tonal balance of the original material.
It works by analyzing incoming audio, identifying resonances and attenuating them by reducing the intensity of the strongest harmonic partials.
Dynamic resonance suppression offers an alternative to EQ or other tone-shaping processes to help reduce the effect of energy buildup at problematic frequencies.
Unlike EQ or compression, it works on the sound’s spectral content rather than the audio signal, allowing much greater flexibility to control resonant peaks.
What are resonances in mixing?
Resonances are buildups of energy that can appear in your tracks and lead to negative effects in your mix.
All complex sonic timbres contain concentrations of energy at different frequencies. When you hear a cello play a rich low tone, you’ll hear the fundamental frequency of the note as well as resonant harmonics at various intervals above it.
When these overtones occur at integer multiples of each other (2:1, 3:1, 4:1, etc), they’re said to be harmonic. If you listen carefully to a sustained tone, you can usually pick out the overtones that are present in a complex sound.
But sounds in the real world always contain a balance of harmonic partials and inharmonic partials.
These are the noisy parts of the sound, such as the grating friction of the cellist’s bow on the strings.
Depending on the balance and intensity of the different partials, some overtones may stick out audibly in a signal or recording.
On top of that, any time you record a sound with a microphone, you capture the source as well as the acoustic reflections in the environment where you recorded it.
The room itself has a big influence on the resonant frequencies in a recording. Untreated acoustic spaces can contribute to bad resonances as reflections bounce off hard surfaces and combine with the direct sound.
Why do you need to control resonances in a mix?
Excess energy in some parts of the frequency spectrum can work against a sound’s role in the mix.
Think of the boomy bass of a recording made in a small room, or the grating sibilance of a mic that was a poor match for the singer.
Compounded across dozens of tracks, problematic resonances stack up and lead to negative effects like harshness, muddiness and lack of clarity.
High end recording studios spend a small fortune to minimize the effect of bad room resonance with acoustic treatment.
But for most of us, some amount of problematic frequency buildup is inevitable. Whether it’s a sample, a recording or even a synth sound, you may need to deal with bad resonances first to get the results you need in your mix.
Why use dynamic resonance suppression to fix harshness
In the analog era, engineers and producers had only a few tools to control the frequency balance of their tracks.
Parametric EQ and early de-essers were about as sophisticated as it got.
Even so, these tried and true methods can still work to decrease the effect of unwanted resonances.
Today’s digital EQ plugins come with steep notch filters that can almost completely attenuate a narrow range of frequencies.
One straightforward approach is to locate the problematic resonance by sweeping a narrow boost until the offending frequency increases in volume. You can then change the filter type to notch and remove a great deal of the signal content in the selected frequency range.
This practice is common, but it’s easy to take it too far and destroy the natural character of the sound with too many notched frequencies.
You also risk introducing other consequences of excessive EQ such as phase shift.
Similarly, de-essers or multiband compressors can sometimes help, but these approaches come with limitations of their own.
Dynamic resonance suppressors offer a third option to get even more control with less of the downsides associated with traditional methods.
Since the technology works by attenuating energy in the frequency domain, it’s not the same as a compressor’s gain reduction function that may cause changes to material you want to preserve.
And since the spectral analysis can differentiate between resonances and other components of the signal, the spectral processing can signle out problems while leaving the rest intact.
3 Ways to Use Smooth Operator for a Cleaner Mix
If you want to get access to the benefits of dynamic resonance suppression, you’ll need a plugin that can do the job right.
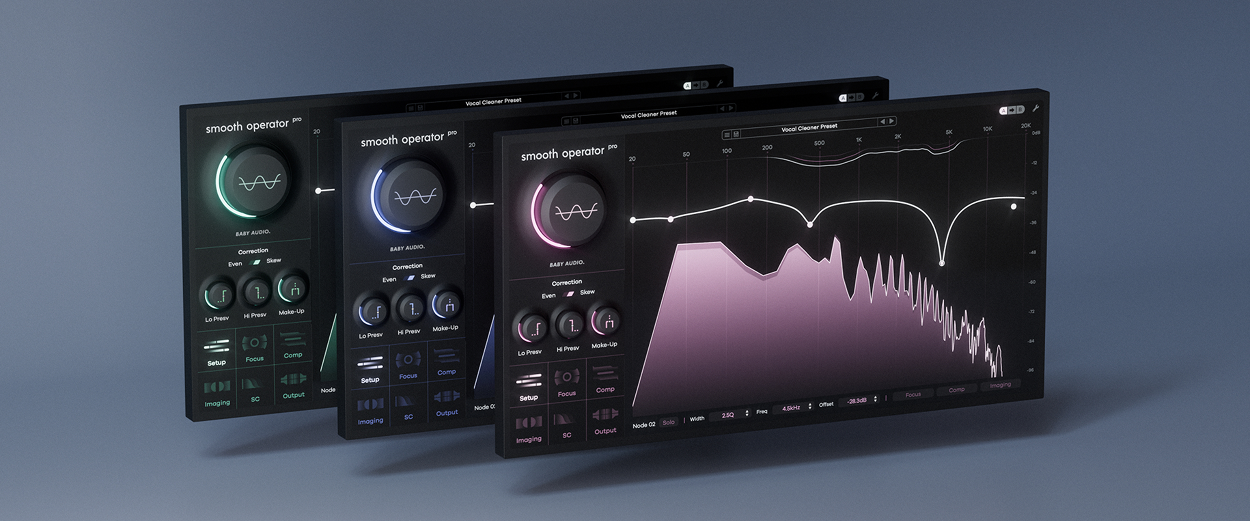
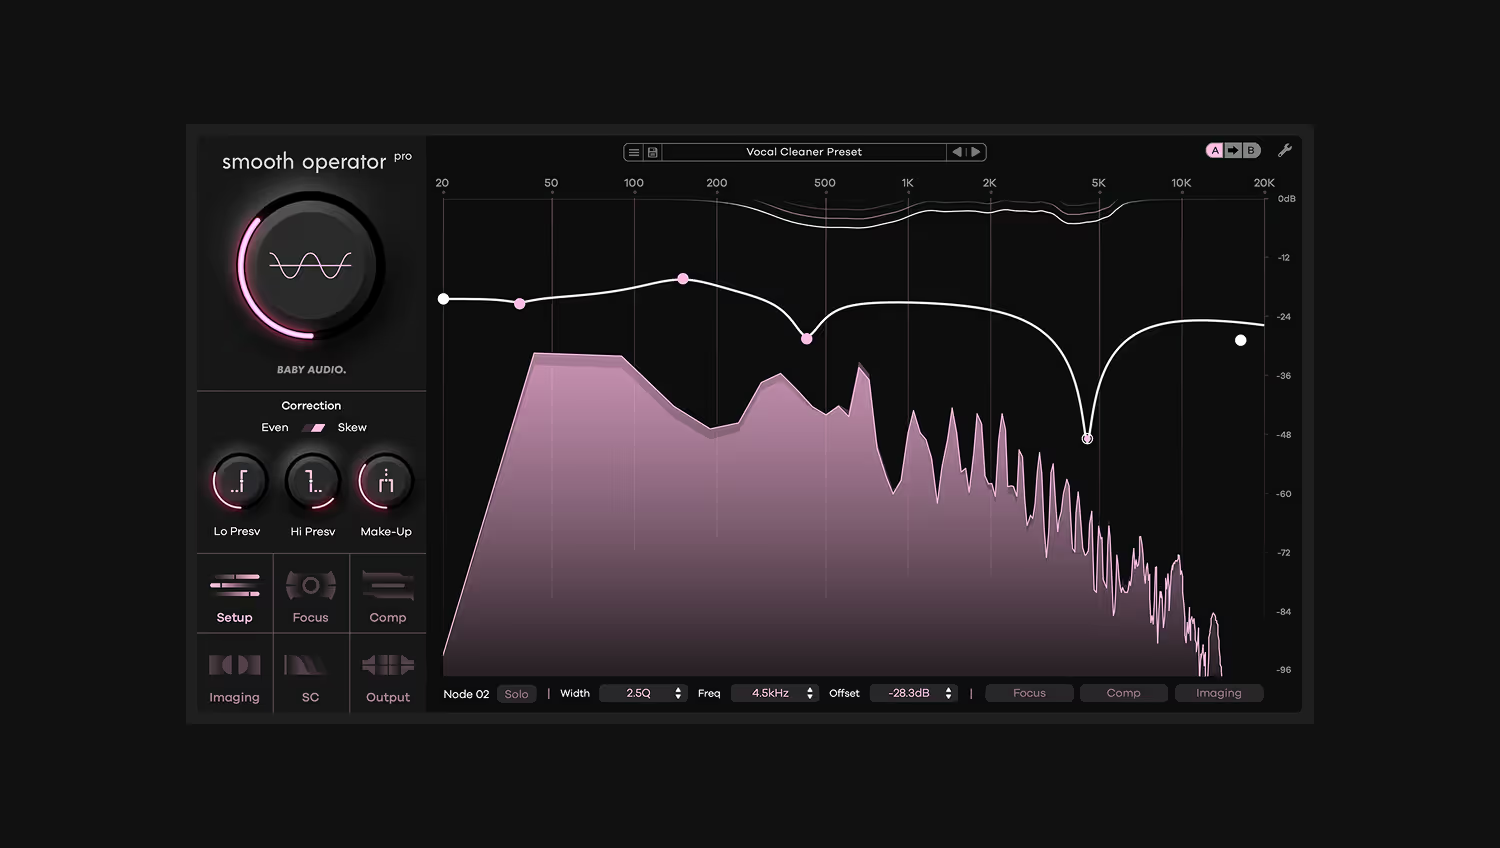
We built Smooth Operator Pro to make this complex form of processing easy to use and effective.
It expands on the capabilities of other resonance suppression to help you deal any form of unwanted frequency energy causing issues in your mix.
Try it free to see how this approach can unlock smooth top end and cleaner tracks.
Now, on to the tips:
1. Soften harsh vocals
Modern vocals call for heavy compression and bright, airy top end.
But multiple stages of dynamics and EQ can bring out harshness, even when they’re necessary for the vocal to sit in the mix.
In these cases, it’s not always possible to target only the harsh frequencies with EQ. If you attenuate too much in he critical zone between 2-5 kHz, you may lose presence and intelligibility.
Alternatively, if you clamp down too hard with a de-esser, you risk turning ‘s’ syllables into unnatural ‘f’ sounds, ruining the singer’s delivery.
Try using Smooth Operator Pro’s frequency display to hone in on the range where spiky resonances stick out with narrow peak node.
2. Tame distorted guitar
Distorted guitars need a lot of bite to cut through a loud mix in aggressive genres.
But it’s easy to get too much of a good thing. With multiple doubled takes, you may find resonances begin to stack up as a result of the mic and speaker combination you recorded.
While these can sometimes help define the guitar in the mix, they may also add a fatiguing edge to the overall sound.
Add Smooth Operator Pro to your guitar bus and use high focus and detail settings to tackle midrange frequencies and upper harmonics that feel grating on the ear.
3. Chill out biting hi-hats
The hi-hat groove plays a big role in the 808-style beats found across modern genres.
They need to be powerful and punchy to drive the rhythmic feel and loud in the mix to cut through.
But static samples can start to feel harsh as they repeat over and over again.
When you need to retain loudness and punch but the hits feel too brittle, try using slower attack times to keep the punchy attack but decrease the intensity of the highs overall.
Smooth it over
Dynamic resonance suppression is likely to become a new secret weapon in many producers’ toolboxes.
It’s a viable solution when other methods don’t work to manage tricky resonant frequencies.
Now that you have an idea of how they work and where to use them, get back to your DAW and try balancing your mix with Smooth Operator Pro.
The definitive clarity tool
Smooth Operator Pro is a powerful mixing tool for achieving cleaner mixes. It's advanced spectral dynamics processing easily elimintes mud and harsh resonances while leaving your sounds intact. With deep flexibility and state-of-the-art performance, Smooth Operator Pro is resonance suppression 2.0.


.avif)
%20(1).png)


