Add 3 products to the cart and get the cheapest for free at checkout.
Drops, Risers and SFX: How to Make Transitions With Transit

Drops, risers and SFX are how you add excitement to rising and falling action in your track.
These transitions are among the most important factors for a song to work on the dancefloor.
But building creative transitions is time-consuming and not always exciting.
Between getting the timing just right and coordinating multiple parameters, the process can be finicky.
Even so, it doesn’t have to be a headache to create great transitions if you have the right tools.
In this article, I’ll explain what risers are, how they’re used effectively in a mix and how to create them quickly and easily with Transit.
What are risers?
Risers are sounds that signal to listeners that a transition in the song’s arrangement is about to take place.
They’re called risers because they usually feature ascending motion in pitch, frequency content or intensity.
“Risers are sounds that signal to listeners that a transition in the song’s arrangement is about to take place.”
A common form of riser is a simple oscillator tone that gradually increases in pitch over the bars building up to a transition.
That said, creative producers have come up with all kinds of riser with unique effects on a mix.
Drops
Drops or beat drops often go hand-in-hand with risers.
After building tension to a fever pitch, producers tend to punctuate new sections with a powerful restatement of the main rhythm.
The drop could include a few beats of silence before the downbeat or a steady buildup of rhythmic intensity with faster and faster subdivisions of the bar.
The drop is usually the payoff where the tension built over the course of the transition pays off.
SFX
SFX is a general term for sounds or samples without tonal or rhythmic content.
This could include noise sweeps, found sounds, spoken-word tags and other special purpose audio that contributes to rising tension.
SFX sounds are often used as risers or in conjunction with other material to spice up a transition.
How are risers and drops used in music production?
All tracks need change over time to keep the audience engaged.
Most songs have a defined structure with contrasting sections that introduce new material or change up the feel.
Whether you add or remove instruments, switch to a different rhythm or change the chords or melody, you’ll need effective ways to move from one segment to the next.
A simple way to build structure is to think of your song like a movie. You need to establish the setting, introduce the characters and move the plot along before the climax.
Each development of the action can benefit from custom transitions that emphasize what happens next.
That’s where risers, drops and SFX come in.
Repeating sections should build towards transitions that help move the action forward. Try setting aside 2, 4 or even 8 bars to build tension with a riser or effect before a drop.
That said, sometimes you need to bring the energy down to build it back up again.
In that case, transitions like noise sweeps or reverb blasts can help reset listeners' expectations so the track doesn’t feel too sparse when the energy comes down.
How to use Transit to create perfect risers and transitions
With all that in mind, we built Transit to make it easy and intuitive to create stylish transitions that pop in a mix.
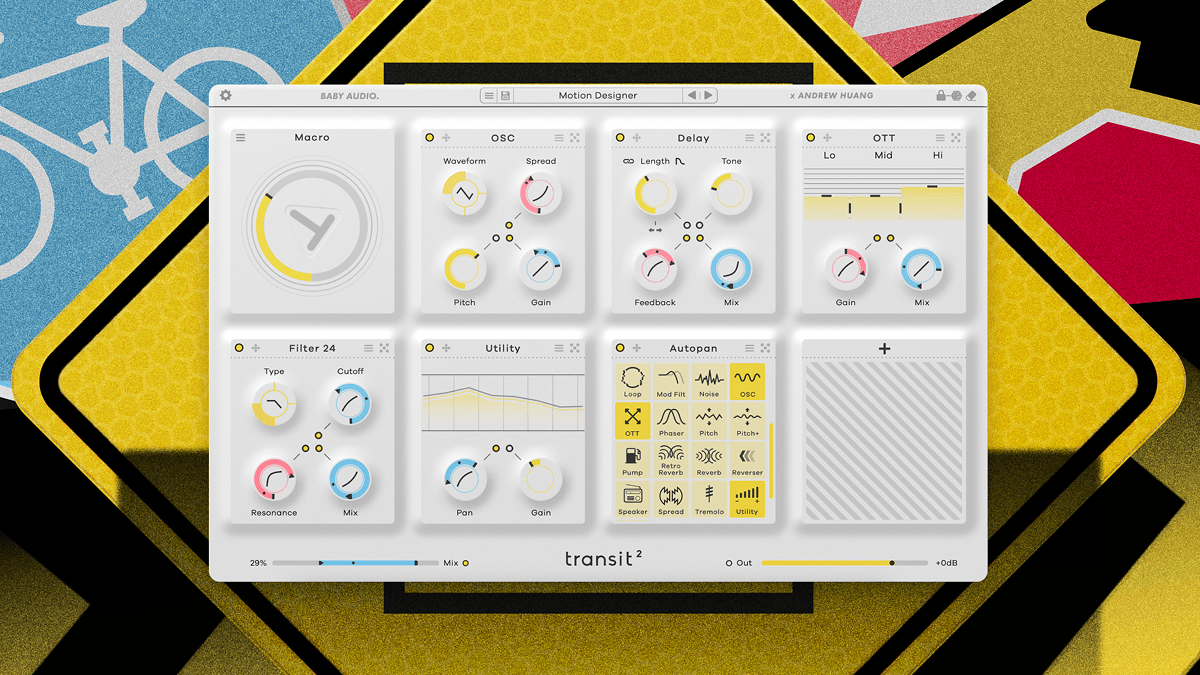
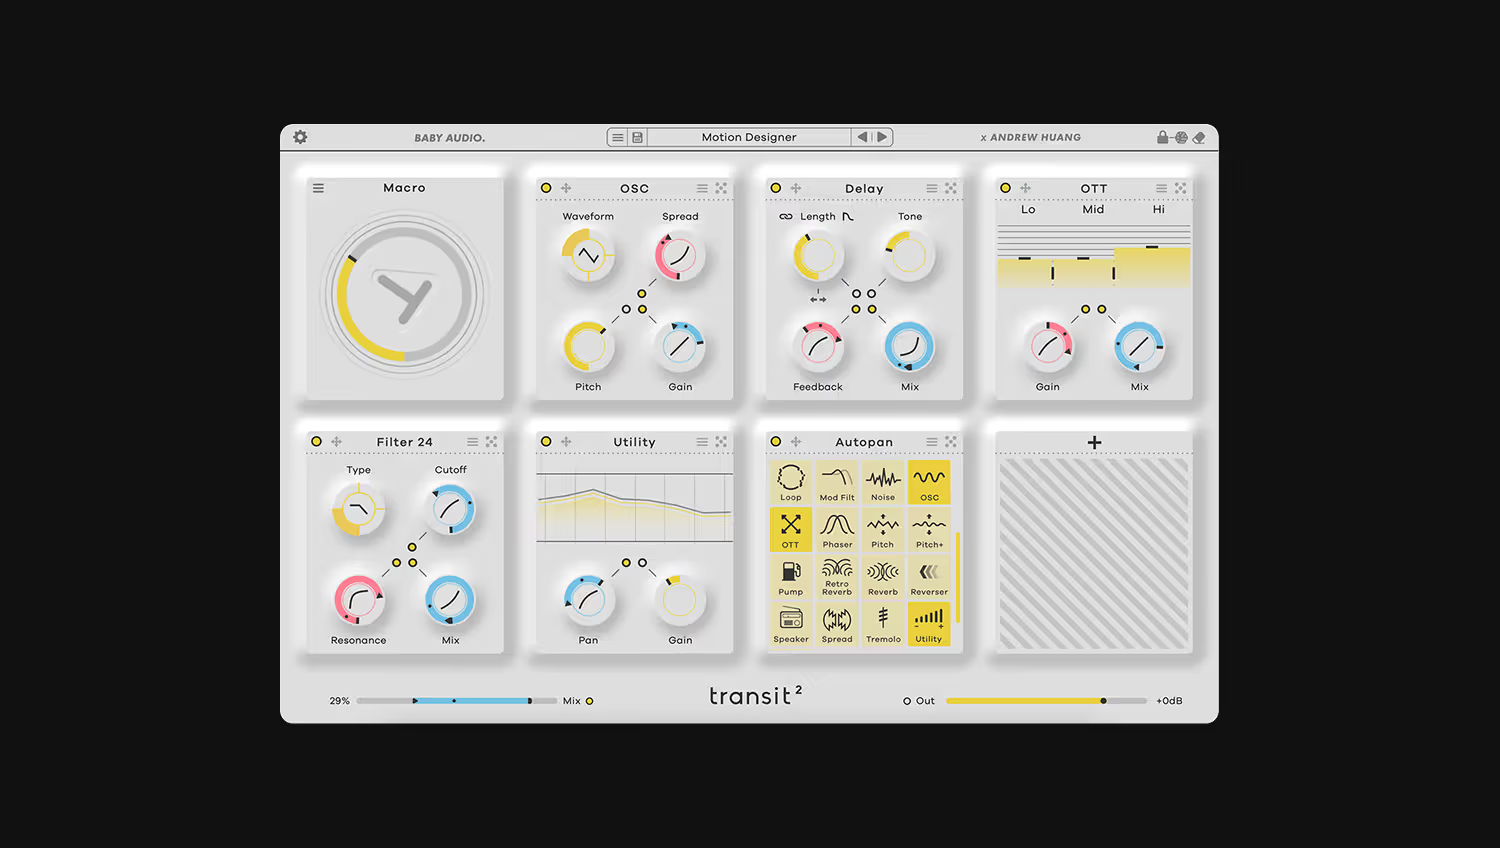
With 18 separate effect modules including high and low-pass filter, siren-style oscillator, cavernous reverb and more, you have all the raw materials for creative transition effects in one place.
Not only that, it’s incredibly easy to craft how your transitions play out with the macro controls.
All you have to do is set start and end points on the simplified effect parameters and automate the Transition Control knob to set them all in motion together.
Transit was developed in collaboration with Andrew Huang to unblock sticking points in his own workflow.
Here he is putting Transit through its paces to show just how quickly it turns static material into polished transitions.
But if you still need some ideas to get started with Transit, here are a few basic ones to consider:
1. Traditional risers
Siren-style risers are easy to create using Transit.
All you have to do is add the Oscillator module and set its range of motion from low to high on the pitch parameter.
With the macro link enabled, the riser pitch will follow any automation you apply to the Transit knob.
Try experimenting with different start and end pitches to create a more musical riser that doesn’t get too dissonant.
You can also embellish the oscillator sound with filters, or othether
2. Washes of delay and reverb
Washing out a track with waves of delay and reverb is a common way to transition energy up or down.
With Transit, it’s easy to combine the two for complementary action that retains definition.
Try setting Transit’s reverb module to move from wet to dry while the delay feedback and mix increase.
The result is a stuttering delay that comes into focus as the clouds of reverb subside.
3. Filtered noise
Sometimes good old fashioned noise is the best place to start when it comes to sound design.
Noise is a signal that has equal energy at all frequencies. When you sculpt it with steep filters you can create a powerful slice of sound that cuts through the mix.
Noise is often used this way as a transition. When done right, upward motion of the low pass filter cutoff can create a riser-like effect.
Try using a static high-pass filter in addition to the automated LPF to keep the noise from overwhelming the rest of the mix.
Perfect transitions with Transit
If you’ve worked hard to create a compelling song structure, you need to support each section with the right transition.
With Transit, you won’t have to get bogged down with complicated automation to get it right.
Whatever kind of risers, drops or SFX you're looking to create, Transit can help you take the manual labor out of the process.
Now that you understand the basics, try Transit for free and see what it can do in your DAW session.


.png)


