No items in cart
Buy 2 Get 1 Free
Add 3 products to the cart and get the cheapest for free at checkout.
Add 3 products to the cart and get the cheapest for free at checkout.

Mixing vocals is an essential skill for producers of all genres.
Vocals are the centerpiece of a great mix and modern tracks call for a powerful and polished sound that connects with listeners on a visceral level.
But if you’re new to mixing or you’ve never mastered the art of vocal production, it can be hard to know where to start.
Luckily, it’s not as difficult as it may seem to mix great vocals when you have the right set of tools and the knowledge to use them effectively.
In this article, I’ll break down the essential mix techniques for a modern vocal sound and suggest the best plugins to help you achieve it.
Getting a great vocal sound starts well before the mixing process even begins.
Tracking modern vocals is a meticulous task that involves comping, editing and of course, capturing a great performance.
Selecting a mic that matches the singer’s voice and recording in an acoustically treated vocal booth also contribute to your final result.
Once you’ve captured a great sound at the source, your next step is to present the best possible representation of the singer by creating a comp track.
The term “comp” is short for “composite take” and refers to the practice of selecting the best parts from multiple takes to minimize mistakes and maximize impact.
After comping, you’ll end up with a lot of small edits on your vocal track. Take care to ensure that each edit is properly crossfaded so that no clicks or pops are audible.
From there, take the time to make any manual adjustments needed to tame excessive breath noise, sibilance and other artifacts that can be fixed during editing.
Completing the tasks described in this step can be a lot of work, but it’s worth it!
Vocal pitch correction is a touchy subject.
Detractors claim it contributes to the decline of authenticity in music, but the reality is that it’s here to stay.
It may surprise you to learn that vocal pitch correction is used regularly in high-budget productions—even on sessions with highly talented vocalists.
Rather than fixing a flawed performance, pro engineers use pitch correction in these settings to elevate an already great take to perfection.
The effect of vocal tuning can be extremely subtle when used this way. In fact, if you can audibly detect the effect of pitch correction software in a finished track, the producer likely intended it that way.
That’s the flip side of vocal tuning plugins—they can be used to subtly enhance a performance, or take it into entirely new territory at extreme settings.
While the classic hard tuning plugins work just as well as they did in 1997 on Cher’s hit Believe, modern vocal production goes far beyond just setting retune speed to 100%.
If you’re after an aggressive vocal tuning sound with a fresh modern character, you might consider Humanoid:
EQ and compression are the bread and butter of mixing. You’ll likely end up applying both to nearly every track in your session.
But when it comes to vocal production, there are special considerations for how you treat the frequency balance and dynamics of recorded vocals.
To start off, you might be wondering whether to use EQ or compression first in your insert chain.
As always in mixing, there are no hard and fast rules. But most experienced mixers use both EQ and compression in several different ways in a vocal chain.
Here’s what I mean. Vocals are often recorded with the singer positioned close to the mic for the most detailed and direct sound. This can result in proximity effect, or an increase in low frequency energy as the source moves closer to the microphone.
Most vocal chains begin with a high-pass filter to ensure that excessive bass doesn’t cause compressor plugins to respond too aggressively to the low end.
From there, the next step is usually compression. Many mixers prefer a technique called serial compression where two or more compressors are used one after the other to control different parts of the signal.
In this setup, a faster ‘grabbier’ compressor tames the intense initial peaks of the syllables, while a smoother, slower compressor evens out the level overall.
For more details on this technique, check out this video:
From there an additional phase of EQ is usually used to augment the high end of the vocal and make any adjustments required to make it sit nicely in the mix.
But first…
Even with two stages of compression and EQ, a dry vocal track may still not have the weight, power and sparkle it needs to command the mix.
That’s where saturation and other coloration techniques come in.
Today’s music production gear is often built to deliver the cleanest sound possible. This is important to maintain fidelity, but it can come at the expense of character.
Modern producers have rediscovered the importance of analog-style saturation for making tracks pop in the mix.
Vocals are no exception, and analog-style saturation plugins can help bring them forward in the mix by adding harmonics to crucial frequency areas.
Not just any distortion will do, however. Vintage gear like analog compressors and tape machines could add a special type of saturation that emphasizes the most pleasing qualities of the sound.
For an authentic vintage tape sound, our TAIP plugin is a favorite among producers for its highly accurate behavior and sound.
But another strong option to consider for vocals is Parallel Aggressor. At the end of the day, every effect you add to an already great vocal performance must enhance it rather than obscure it. A great way to ensure you always retain clarity is to blend saturation and character compression in parallel.
That way you can use more aggressive settings for both saturation and compression and keep it all in check by adjusting the level of the dry signal.
If you’ve followed along with this guide so far, your vocal tracks could be processed with multiple stages of EQ, compression and saturation.
Enhancing the vocal this way can be necessary for the larger-than-life sound of modern productions, but it can also lead to challenges.
The best engineers have access to top-tier tools in every category. When working with high end mics, preamps, converters and analog outboard gear, there's less risk of negative outcomes from aggressive processing.
But most of us need to make the best of what we have when it comes to gear we use and the environment where we record. In practice, that means that enhancing some qualities in a vocal track gives rise to others that may not be desirable.
For example, when adding heavy compression in combination with dramatic high frequency boosts, harshness and sibilance can easily become apparent. You might not even notice that the mic you chose was a poor match for the singer until you hear it in the mix after processing.
To deal with this issue, modern vocal insert chains almost always include a dedicated de-esser.
A de-esser is a specialized form of compressor that acts only on the harsh ‘s’ syllables to control the volume spikes they cause.
De-essers can help to control bursts of high frequency energy in this critical area, but harshness and resonant buildup can occur anywhere across the spectrum.
To surgically control resonance in problematic areas, Smooth Operator Pro is one of the best tools available.
By acting on the harmonic partials themselves, rather than the whole signal like an EQ, Smooth Operator Pro can fix harshness without changing the basic characteristics of the sound.
That’s essential when you’re trying to preserve the unique feel of the singer’s delivery.
Check out this video to learn more about Smooth Operator Pro and hear how it works on vocals:
Finally, a polished modern vocal would not be complete without stylish delay and reverb effects.
There are as many different approaches to vocal ambience as there are producers, but the basic concepts are simple.
Vocal tracks are recorded as dry as possible to get the most direct sound from the microphone. That means some artificial ambience must be added during mixing for them to sound natural in a mix.
Delay and reverb are commonly used, sometimes in combination with chorus, widening and other modulation effects.
Since these effects are inserted on aux return channels and set to 100% wet, they’re often referred to as ‘send effects.’
Some songs may call for extended ambient wash with long reverb decay, extended delay feedback and ultra wide modulation.
Others may benefit from just a simple slapback delay, or barely perceptible chamber reverb.
Your goal, as always, is to enhance the vocal and make the best choices for the song.
If you’re looking for a stylish reverb plugin to craft the perfect ambience for vocals, my suggestion is Crystalline. Here's a detailed overview on how to dial it in for vocals:
While it may seem simple once each step is broken down, modern vocal production is an art that requires practice and experience to perfect.
Working through each stage, I’ve mentioned a handful of plugins that can help you with specific parts of the process.
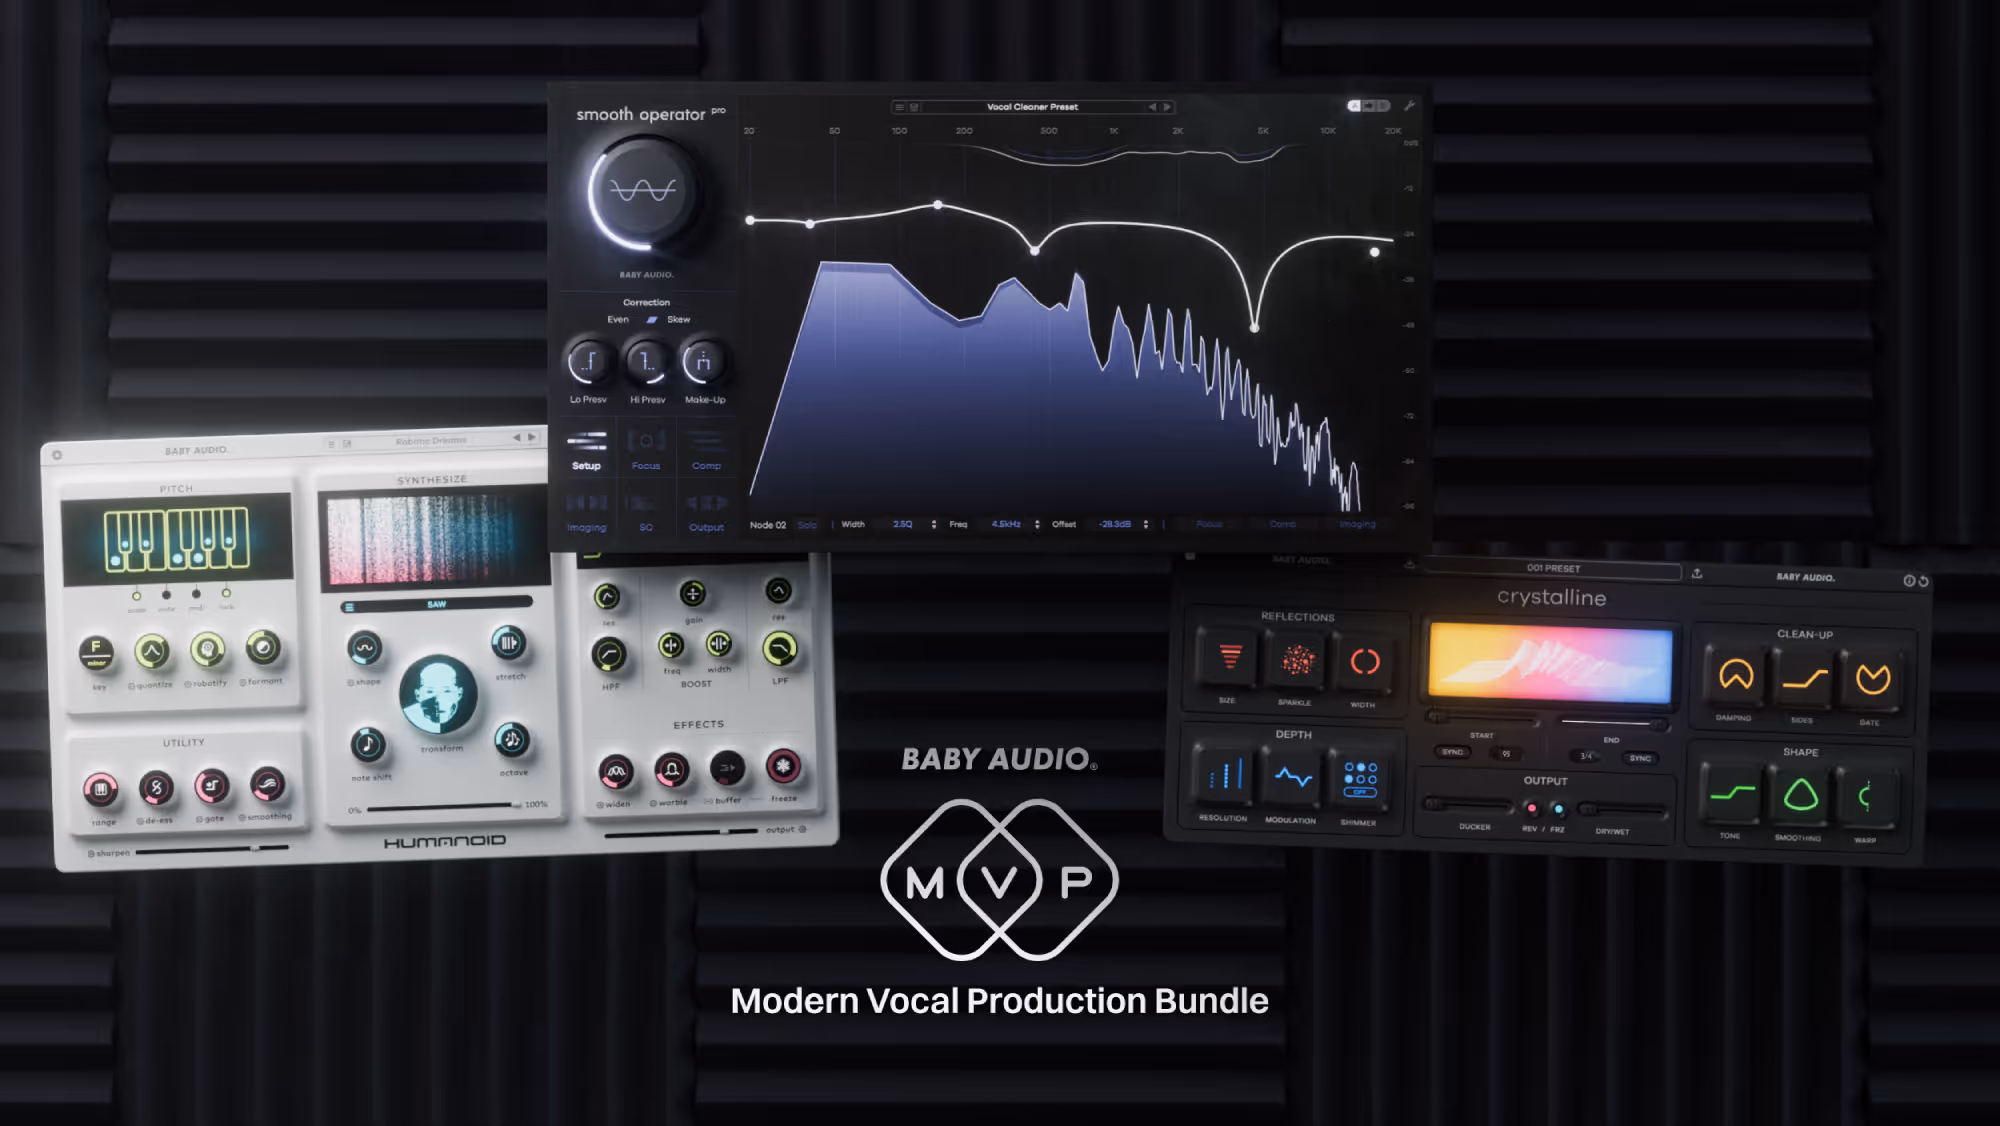
Our top vocal plugins are now all available in one package to make it even easier to get started with industry-leading tools.
Check out the Modern Vocal Production Bundle to get the best deals on the essential vocal processing tools mentioned in this article.
And now that you have a solid grasp of the basics, get back to your DAW and keep perfecting your vocal tracks.


.avif)