No items in cart
Buy 2 Get 1 Free
Add 3 products to the cart and get the cheapest for free at checkout.
Add 3 products to the cart and get the cheapest for free at checkout.

Resonance suppression is one of the newest tools to find a place in pro mastering workflows.
It’s a powerful plugin type that can solve problems and enhance results in ways that other methods can’t.
But is resonance suppression really a good fit for mastering? How can you use it wisely and what should you be careful to avoid during the mastering process?
In this article I’ll break down the basics of using resonance suppression tools like Smooth Operator Pro to create better masters and offer five tips to try on your own masters.
Mastering is a delicate and technical process that defines the final listening experience of a piece of recorded music.
It’s the last step in the lifecycle of music production where a finished mix gets prepared for the medium where listeners will hear it.
Mastering engineers focus on making sure that each track is presented in the best possible light and matches listeners’ expectations for loudness, clarity and impact across a wide variety of listening systems.
As a result, even finished mixes from pro engineers may include some problematic elements that must be dealt with during mastering for proper presentation.
Mastering engineers typically use specialized versions of tools you might be familiar with from mixing such as EQ, compression and limiting.
Even though the mastering versions offer enhanced fidelity and quality, they still have the same fundamental limitations as those used during the mix.
Resonance suppression offers an entirely different approach to managing frequency balance and dynamics that can complement traditional EQ and compression during mastering to achieve even better results.
Speaking of EQ, resonance suppressors like Smooth Operator Pro might seem similar to EQ at first glance.
But as I mentioned above, the underlying principle is quite different.
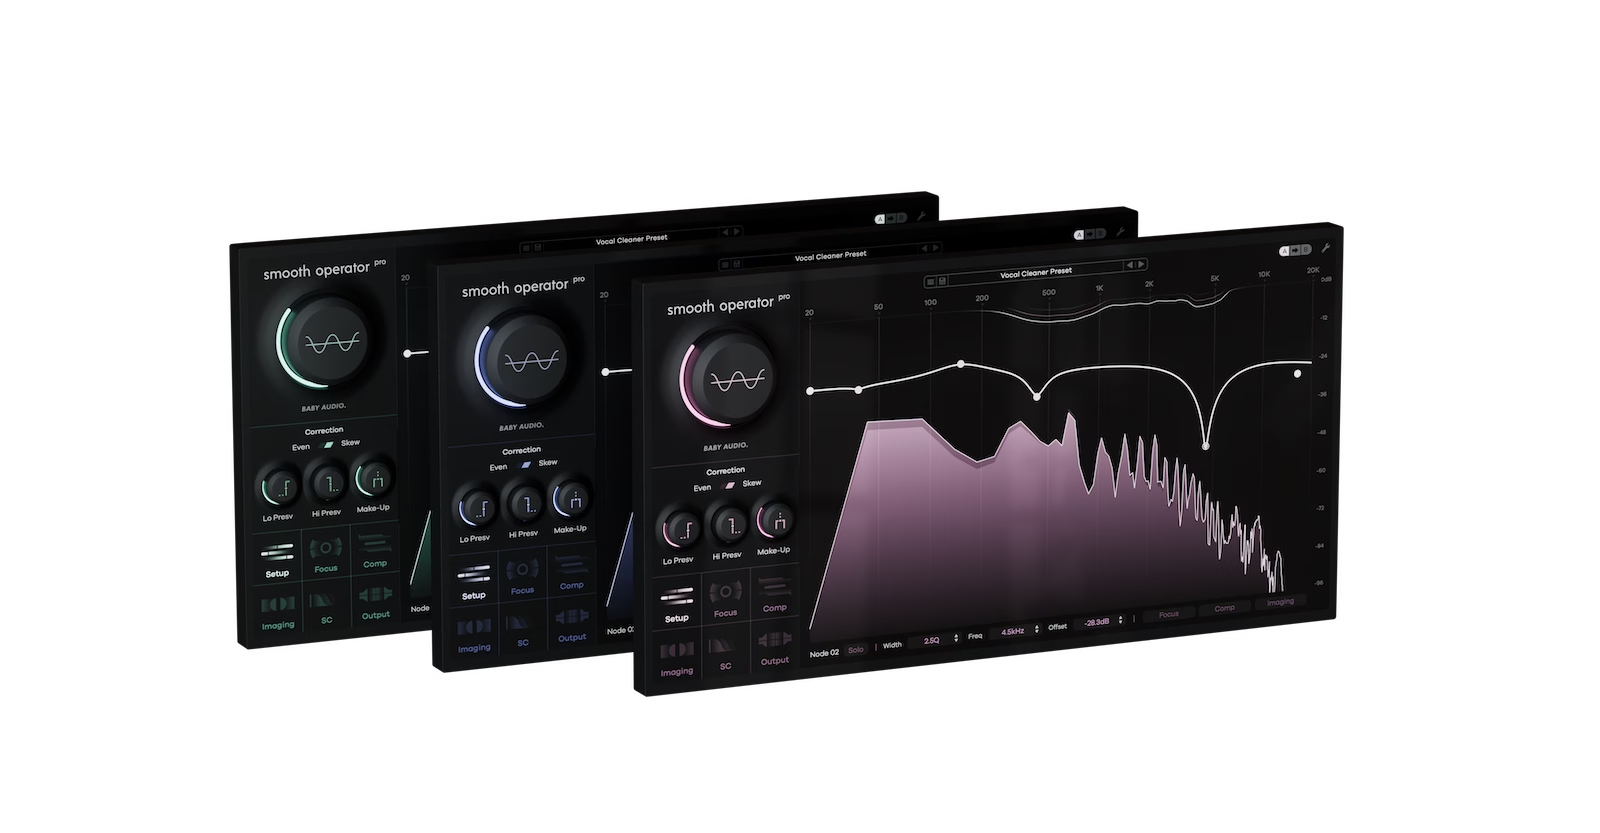
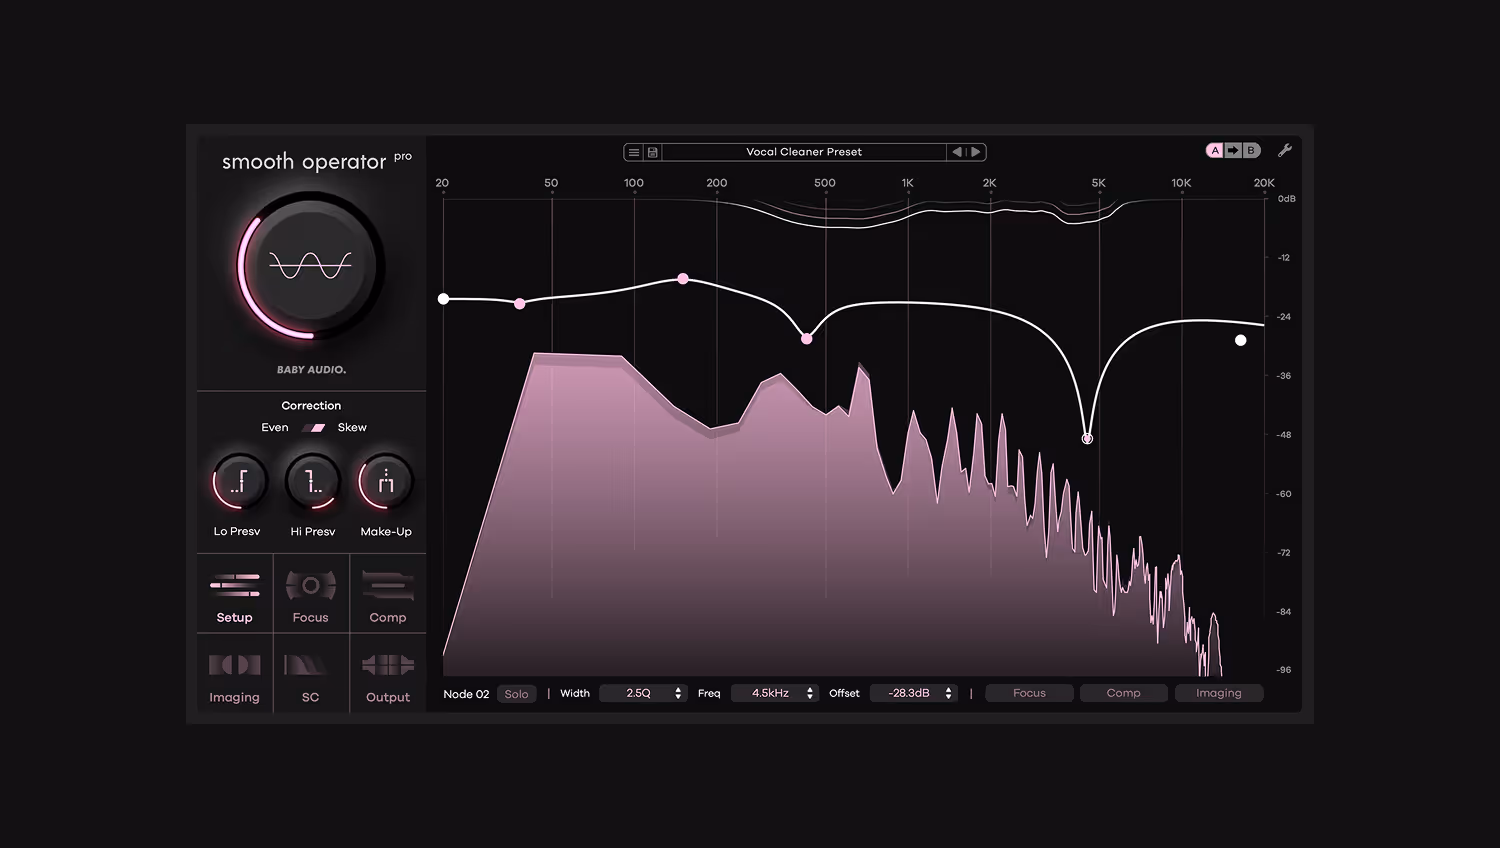
Smooth Operator Pro breaks the incoming signal down into its harmonic components, or frequency partials.
Taken together, the frequency and intensity of each partial are what contribute to the sound’s unique timbre.
A full mix will contain a blend of the harmonic information from its individual tracks, each with their own unique signature of frequency partials as well as inharmonic components like percussion.
With so much going on in a finished stereo mix, EQ can only do so much. After all, a traditional equalizer can only affect the sum of all frequency information represented across the final stereo bounce of the mix.
On the other hand, Smooth Operator Pro gives you direct access to frequency components inside the audio, letting you shape them with controls similar to those found on compressors.
While that might make it seem similar to another tool used in mastering called dynamic EQ, it’s still not quite the same. Check our overview on the difference between resonance suppression vs. multiband compression vs. dynamic EQ for more information.
With the basics out of the way, here are my top coud tips for mastering using Smooth Operator Pro.
Vocals are almost always the loudest element of any mix. Since one of the principle tasks in mastering is to raise the volume of a mixed track to the maximum of the medium’s available headroom, issues that affect the vocal can have an outsized effect on the track.
Sibilance is a common problem in vocal production. While it might not seem too problematic in the context of the mix, excessive sibilance can wreak havoc during mastering. Mastering engineers may be forced to resort to specialized de-esser plugins or other purpose-built tools to help reduce it.
But de-essers might not be able to fix problematic sibilance without changing the sound too much or having other negative effects when used on the full stereo mix.
Smooth Operator Pro can perform surgical de-essing operations that still sound transparent across an entire mix, due to its different mechanism of action.
By attenuating just the harshest energy of the ‘s’ sounds when they occur, Smooth Operator Pro can save the day when traditional de-essing isn’t working.
Mono compatibility may seem like a thing of the past, but mastering engineers pay special attention to how mixes translate into mono for a few key reasons.
First off, mono playback systems are actually more common than you think. In practical terms, any system where the left and right channels are located very close together can appear to be mono depending on the position of the listener.
That means phones, laptops, Bluetooth speakers and other compact devices are functionally mono in practice. On top of that, live sound systems such as venue PAs are often configured in mono for the sake of simplicity.
When it comes to mastering, the problem arises when the left and right channels have a significant difference between the material contained in each channel.
Certain effects like stereo widening, chorus and even reverb can introduce differences between left and right that make the mix sound wider in stereo but can collapse when heard in mono.
That’s fine for background elements like stereo reverb tails, but there’s one place excessive stereo information is worth avoiding—your bass.
If any width-enhancing elements of the bass sound are causing the track to lose low end energy in mono, mastering engineers may decide to correct it.
This can be done using mid/side EQ, but Smooth Operator’s mid/side mode processing nodes offer much more flexibility and precision.
In fact, Smooth Operator can selectively attenuate the stereo information of specific frequencies within the mix, giving mastering engineers additional flexibility to correct for phase issues.
On the flipside, a mix that feels too mono in other frequency areas may sound narrow and one-dimensional overall.
While the mix’s low end foundation should almost always have maximum punch in the center pan position, extra width in uppermost frequencies can emphasize a sense of spaciousness and extension.
Just like Smooth Operator Pro can selectively attenuate the stereo information in a narrow range of frequencies, it can also be used to emphasize width across others.
Try using the per-node imaging controls on the high shelving node to pair heavier reduction in the mid channel with a gentle lift in the side channels to enhance the stereo activity in the upper frequencies of the mix, but be careful—take it too far and the effect can lead to collapsing depth as I mentioned in tip #2.
The listening chains and monitor setups used for mastering are some of the most highly optimized acoustical systems in the world.
In these environments, every frequency counts, up to those at the very edge of human hearing ability.
If you’re just focused on getting a great mix, you might not be thinking too hard about what’s happening at the upper reaches of the frequency spectrum.
One of Smooth Operator Pro’s most popular use cases is for reducing harshness in the critical presence zone around 2-5 kHz. This can be a lifesaver during the mix, especially if elements like drums and cymbals were recorded in an untreated acoustic space.
But mix engineers may not always pay as much attention to ultra-high frequencies, such as those between 15-20 kHz. Even so, extra harmonic density in this region may still contribute to harshness and fatigue, even if it’s not perceptible until mastering.
Despite the potential for harshness, the ultra-high end contains the essential qualities of the mix’s air and extension as I mentioned above.
Smooth Operator Pro lets you selectively thin out any frequency region, attenuating the material that contributes negatively to the sound while retaining everything important.
Try setting a high isolation value in the per-node focus settings for your upper frequency nodes to let Smooth Operator Pro act on the material with higher selectivity.
Mastering may be technically complex, but the basic operations involved in the process are simple enough to understand.
EQ, compression and limiting all play a role, but resonance suppression offers some unique benefits for pro mastering workflows.
Smooth Operator Pro gives engineers new capabilities to deal with the most problematic issues that may arise during mastering.
If you’ve made it through this article, you’ll have a good grasp of the key ways Smooth Operator Pro can contribute, so get back to your master and give them a try!
Smooth Operator Pro is a powerful mixing tool for achieving cleaner mixes. It's advanced spectral dynamics processing easily elimintes mud and harsh resonances while leaving your sounds intact. With deep flexibility and state-of-the-art performance, Smooth Operator Pro is resonance suppression 2.0.


.avif)